


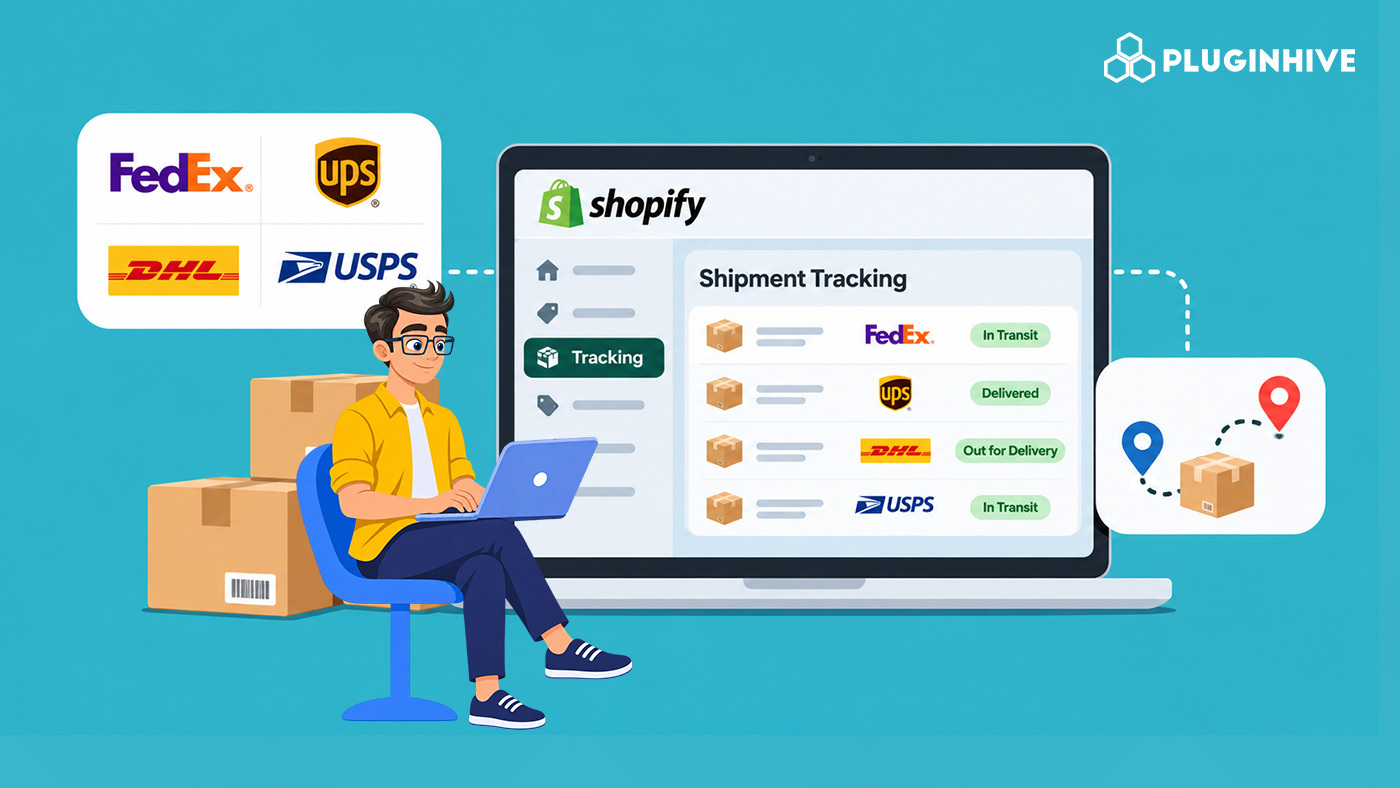
Most Shopify stores don’t stay with one carrier for long. A lightweight parcel goes by postal service, a heavy order by a freight option, and an international order by an express carrier. Shipping gets more flexible, but tracking usually doesn’t. This guide explains how multi carrier tracking works on Shopify, where the default setup breaks down, and how to manage every shipment from one dashboard.
In This Article
- Multi Carrier Tracking: When Every Carrier Has Its Own Tab
- Why Multi Carrier Tracking Breaks Down in Default Shopify
- What a Single Shipment Dashboard Should Actually Do
- How PluginHive Shipment Tracking & Notify Handles Multi Carrier Tracking in Shopify
- Give Customers the Same View: The Branded Lookup Page
- Before and After: One Morning of Shipment Monitoring
- Is Your Store Ready for Multi Carrier Tracking? A Quick Checklist
- Carrier-Specific Setups to Explore
- Conclusion
- FAQ
Multi Carrier Tracking: When Every Carrier Has Its Own Tab
Picture a normal Monday morning for a growing store. Someone opens the UPS portal, then the DHL site, then a regional carrier’s lookup page, pasting tracking numbers into each one. Then they switch to Shopify to find which customer ordered what. By the time they finish, the first shipment’s status has already changed.
This is the real cost of running several carriers without a unified view. The carriers themselves are fine. The trouble is that nothing connects their data to your store, your team, or your customers.
Why Multi Carrier Tracking Breaks Down in Default Shopify
When you fulfil an order and add a tracking number, Shopify stores the number and sends one shipping confirmation email. That’s where its tracking role ends. Each additional carrier widens the gap:
- Shopify doesn’t pull live status from any carrier back into your admin
- Customers get no follow-up emails when a shipment moves, gets delayed, or is delivered
- Each carrier’s tracking link takes the customer to a different website
- There’s no single list showing which shipments are moving, stuck, or delivered
If you’re still deciding how to structure your carrier mix, this guide on setting up Shopify shipping integration with multiple carriers is a good starting point before you build the tracking layer.
What a Single Shipment Dashboard Should Actually Do
Not every tracking tool delivers a true single view. A dashboard worth using should:
- Show all carriers together, with a filter to narrow down to one
- Group shipments by status, so problems stand out immediately
- Update automatically from carrier data, with no copy-pasting
- Pair with customer-facing communication, so buyers see what your team sees
The second point matters most. A list of 400 shipments is useless. A list sorted into In Transit, Out for Delivery, Delivered, and Exceptions tells your team where to look first.
How PluginHive Shipment Tracking & Notify Handles Multi Carrier Tracking in Shopify
The PluginHive Shipment Tracking & Notify app was built to close these gaps. Here’s how the setup works.
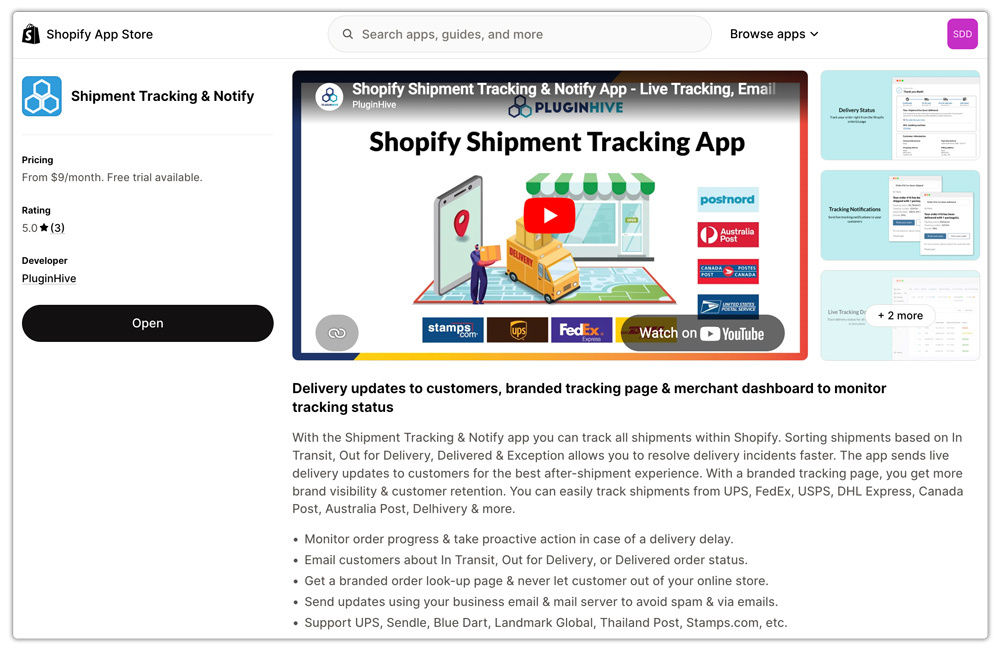
1. Pick a plan.
- Free: Covers up to 25 orders per month with email notifications.
- Starter ($9/month): Supports up to 200 orders.
- Popular ($29/month): Supports up to 1,000 orders.
- Premium ($49/month): Supports up to 2,000 orders.
- Enterprise ($99/month): Offers unlimited order tracking.

2. Add your carriers in one of two ways.
- Ready-to-use carriers need no credentials. These include DHL Express, Australia Post, Canada Post, among others.
- Your own carrier account is connected with API credentials for carriers like UPS, USPS, FedEx, and Amazon Shipping.

You can mix both types in the same app, which is what makes multi carrier tracking practical.
3. Turn on email notifications. Under Settings → Notifications, enable email and enter your SMTP host, port, username, and password. Add a From Address and a Reply-To Address so customer replies reach your inbox. Then add your store URL and name, and customise the HTML email template to match your brand. Emails are sent from your own domain, not a third party’s.

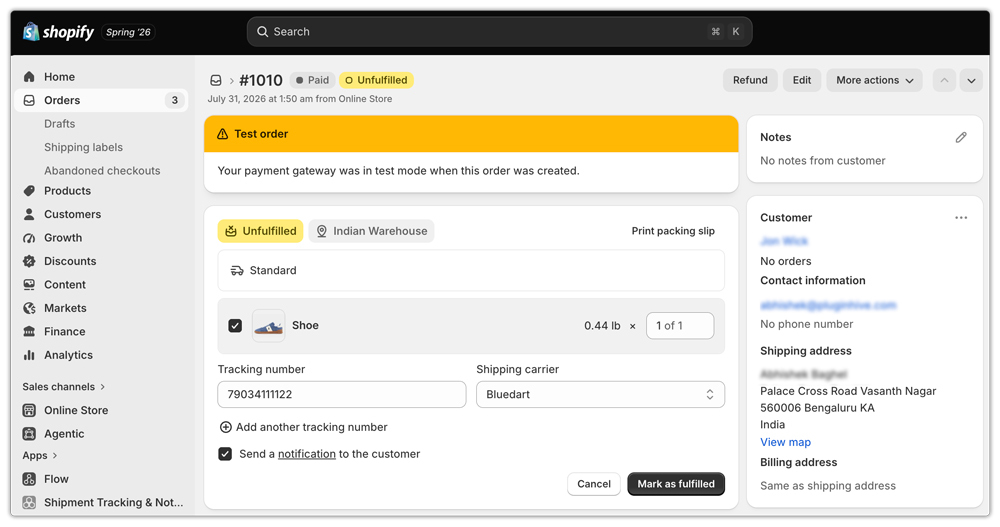
4. Fulfil orders as normal. Click Mark as Fulfilled, enter the carrier’s tracking number, and click Fulfil Items. The fulfilment email goes out with the tracking details, and after that the app emails your customer on every tracking status change.
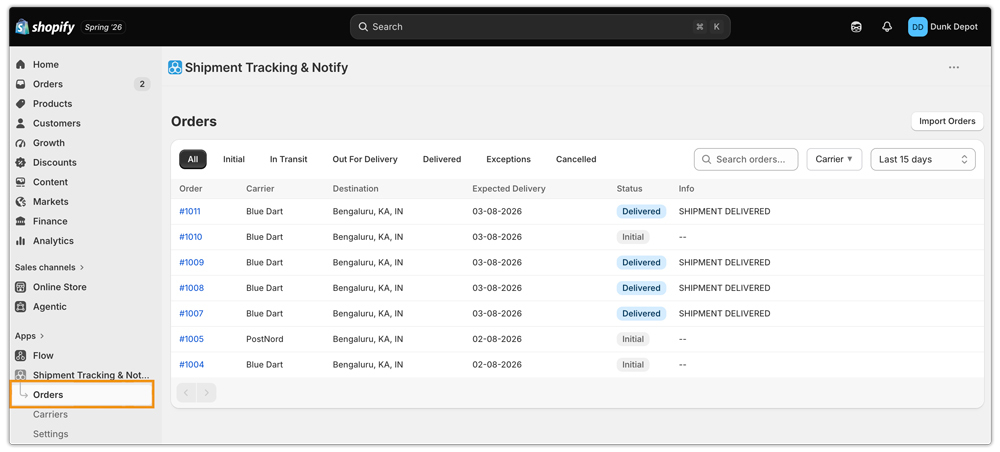
5. Monitor everything from the Orders page. This is the dashboard. You can import Shopify orders manually, search by order number, filter by carrier, and set a date range. Orders are sorted into All, Initial, In Transit, Out for Delivery, Delivered, Exceptions, and Cancelled. Click into any order to see its full tracking lifecycle.
For a broader look at apps in this category, see this roundup of the best Shopify order tracking apps.
Give Customers the Same View: The Branded Lookup Page
Tracking shouldn’t stop at your admin panel. Customers need one consistent place to check status, no matter which carrier has their parcel.
To add the lookup page, go to Content → Menu in your Shopify admin, choose a menu, and click Add Menu Item. Enter a label such as “Track My Order” and set the link to /apps/phtracking/. Save it, and the page appears in your header or footer.

Customers enter their order number and email to see live status. Whether the parcel is with UPS or PostNord, the page looks the same, and they never leave your domain.

You can go further with these options:
- Enable Custom Tracking Lookup Page: every tracking email then includes a link to your branded page, so customers who click the tracking number land on your storefront and not a carrier site
- Show Order Details: display the shipping address and order line items next to the live status
- Custom Page Styling: apply your own CSS to match your storefront
- Custom “Order Not Found” message: replace the generic error with your own wording

The Shopify order tracking page guide covers this setup in more depth.
Before and After: One Morning of Shipment Monitoring
Here’s how the same tasks compare with and without a unified view:
- Checking for problems. Before, you open each carrier portal in turn. After, you open the Exceptions tab and see every flagged shipment at once.
- Answering “where’s my order?” Before, you look up the number, find the carrier, and open its site. After, you search the order number on the Orders page.
- Telling customers about a delay. Before, you wrote each email by hand. After, the app has already emailed them when the status changed, and the tracking page shows the live status.
- Comparing carriers. Before, you rebuilt the picture from separate portals. After, you filter by carrier and date range.
This is where support tickets drop. Customers who get automatic updates and can check a tracking page themselves have far less reason to contact you.
Is Your Store Ready for Multi Carrier Tracking? A Quick Checklist
Use this to check whether your current setup holds up:
- Can you see every active shipment, from every carrier, in one place?
- Do customers get an email when a shipment changes status, or only at fulfilment?
- Does your tracking page live on your own domain?
- Can you spot delayed or failed deliveries without opening a carrier site?
- Do tracking emails come from your own business address?
Merchants who also generate labels from Shopify can pair tracking with the Shopify Multi Carrier Shipping Label app, so rates, labels, and tracking work together.
Carrier-Specific Setups to Explore
Once your dashboard is running, these walkthroughs cover common carriers in your mix:
For the customer-facing side, this article on the Shopify post-purchase experience explains which touchpoints matter after checkout.
Conclusion
Running several carriers on Shopify is a smart way to match each order to the right service, but only if you can see all those shipments at once. Native Shopify gives you a tracking number and a single email. Real multi carrier tracking needs live carrier data, a status-sorted dashboard, automated customer emails, and a branded tracking page. PluginHive Shipment Tracking & Notify brings these together in one app, so your team stops switching between carrier portals and your customers always know where their order is.
FAQ
Q. Does Shopify support multi carrier tracking natively?
Not fully. Shopify stores the tracking number and sends one fulfilment email, but it doesn’t pull live carrier status, send follow-up notifications, or give you a combined shipment dashboard.
Q. Do I need my own carrier account for every carrier?
No. Carriers like DHL Express, Australia Post, Canada Post, PostNord, Blue Dart, and Aramex/Fastway work without credentials. For UPS, USPS, FedEx, and Amazon Shipping, you connect your own account.
Q. How do I see which shipments have delivery problems?
Open the app’s Orders page and select the Exceptions tab. You can also filter by carrier or date range.
Q. Will tracking emails come from my own email address?
Yes. You enter your own SMTP details and From Address, so notifications send from your business domain.
