


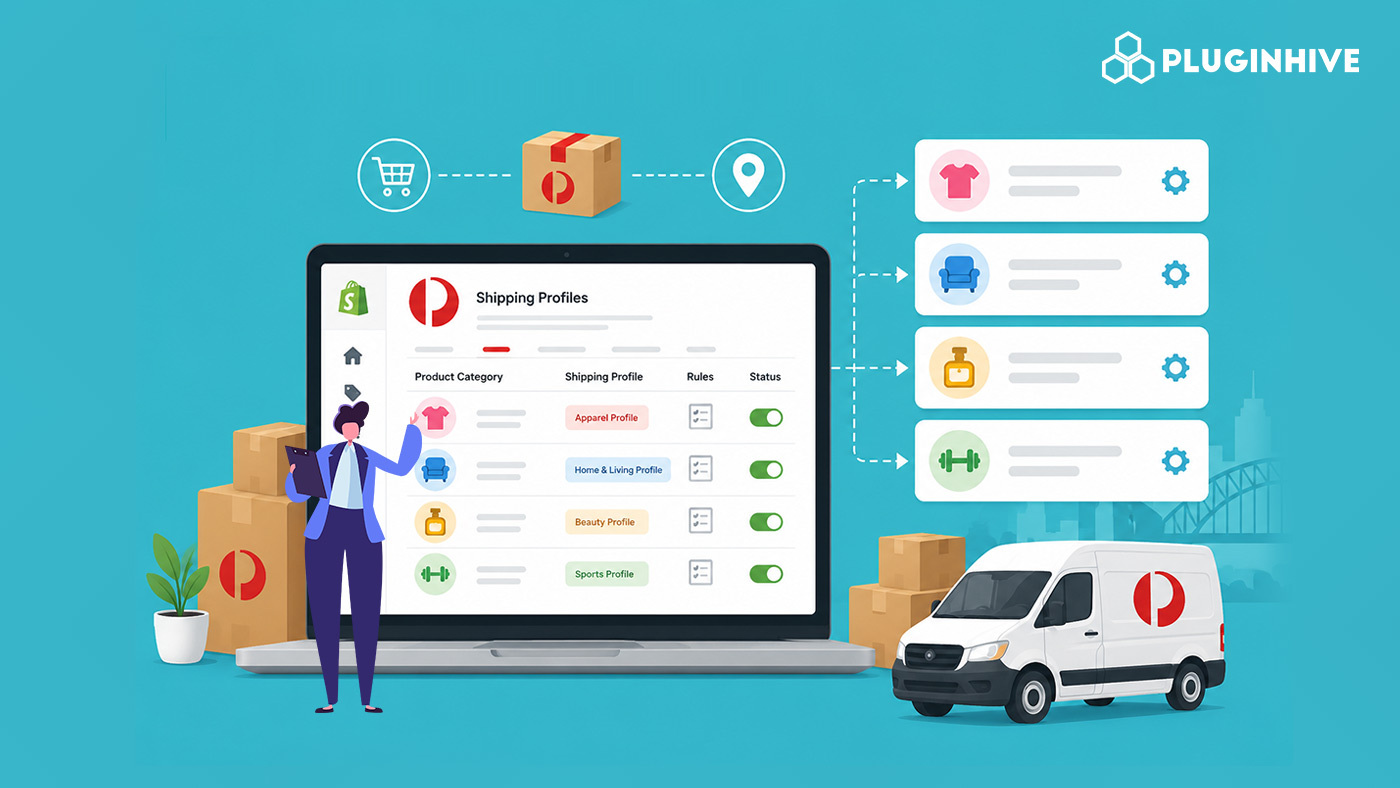
If your Shopify store sells a mix of product types, say, lightweight accessories alongside bulky homeware, or fragile glassware alongside standard clothing, a single, store-wide shipping setup will almost always let you down. You’ll either overcharge customers on lightweight orders or absorb the cost on heavy ones. The solution is Shopify shipping profiles, and when paired with Australia Post, they give you the precision to price shipping correctly for every category in your catalog. The answer is a well-structured Shopify shipping profile strategy paired with Australia Post, one of the most reliable carriers for Australian merchants.
This guide covers how to use Shopify shipping profiles to create distinct shipping rules for different product categories, and how the PluginHive Australia Post Ship app connects those profiles to live Australia Post rates and label generation.
In This Article:
- Why a Single Shipping Setup Doesn’t Work for Mixed Catalogs
- Understanding Shopify Shipping Profiles Before You Build
- How to Structure Shopify Shipping Profiles for Multiple Product Categories
- Setting Up Custom Shopify Shipping Profiles for Australia Post: Step by Step
- Best Practices for Australia Post Shipping Profiles on Shopify
- Using PluginHive Australia Post Ship App with Multiple Shipping Profiles
- Conclusion
- FAQ’s
Why a Single Shipping Setup Doesn’t Work for Mixed Catalogs
Most Shopify stores start with one General Shipping Profile and a flat rate applied to everything. That’s fine at the beginning. But as the catalog grows and product types diversify, problems start to show up:
- A 500g candle and a 15kg outdoor furniture piece cannot logically share the same shipping rate
- Fragile or high-value items may need Express Post while standard items are fine with Parcel Post
- Products fulfilled from different warehouses need location-specific carrier configurations
- International products need different zones and services than domestic-only products
A Shopify shipping profile solves each of these by letting you attach specific rules, zones, rate types, and carrier services to specific groups of products, independently from the rest of your store.
Understanding Shopify Shipping Profiles Before You Build
A Shopify shipping profile is a container for shipping rules. Each profile holds:
- The products it applies to
- The fulfillment locations those products ship from
- The shipping zones (countries or regions) you deliver to
- The shipping rates shown at checkout for each zone
Shopify gives you two profile types:
- General Profile: The default profile every store has. Any product not assigned to a custom profile lives here automatically. You cannot delete it, only edit it.
- Custom Profile: A separate profile you create and manually assign specific products to. You can create as many as your store needs.
For a store selling multiple product categories, the practical approach is to keep your standard, lightweight products in the General Profile and create dedicated custom profiles for categories that need different rules: heavy items, fragile goods, international-only products, and so on.
How to Structure Shopify Shipping Profiles for Multiple Product Categories
Before you touch any settings, map out your product categories and what each one needs from shipping. Here’s a practical framework:
- Category 1: Standard lightweight products. Use the General Shopify shipping profile. Assign Parcel Post rates via Australia Post for domestic zones. These products need no special treatment.
- Category 2: Heavy or bulky products: Create a custom Shopify shipping profile. Weight-based rates work best here; the shipping cost scales with order weight, protecting your margins. You can also display live Australia Post rates so customers see the actual cost rather than an approximation.
- Category 3: Fragile or high-value products. Create a separate custom Shopify shipping profile. Assign Express Post or StarTrack services for faster, more reliable delivery. Offer signature-on-delivery where applicable.
- Category 4: International products. Create a custom Shopify shipping profile with international zones only. Assign Australia Post International Standard or International Express services depending on the delivery speed your customers expect. You can refer to the full list of Australia Post shipping services for Shopify to choose the right option for each destination.
Setting Up Custom Shopify Shipping Profiles for Australia Post: Step by Step
Go to Shopify Admin → Settings → Shipping and Delivery.
Step 1: Create a New Custom Profile
Click “Add Custom Profile.” Give it a clear internal name, such as “Heavy Products,” “Fragile Goods,” “International Catalog,” and so on.
Step 2: Assign Products
Click “Add products” and select every product that belongs to this category. Click “Done.”
Step 3: Configure Fulfillment Locations
All your warehouses appear here by default. For each location you don’t want to ship these products from, click the location and select “Don’t ship from this location.” This prevents incorrect fulfillment.
Step 4: Create Shipping Zones
Click “Add Zone” and select the countries or regions for this profile. Each zone is independent per profile; the zones you set here have no effect on your General Profile or any other custom profile.
Typical zone setups for Australian merchants:
- Domestic Australia
- New Zealand
- Asia Pacific
- Rest of World
Step 5: Add Shipping Rates to Each Zone
Click on a zone and select “Add shipping option.” Name the rate; this is what appears at checkout. Then choose your rate type:
- Flat rate: fixed cost regardless of order details
- Carrier or app calculated rate: live rates pulled directly from Australia Post in real time
For most Australian merchants using Australia Post, carrier-calculated rates are the most accurate option. Repeat this for every zone in the profile.
Step 6: Validate Product Weights
Go to Products and confirm each product has an accurate weight entered under the Shipping section.
Step 7: Verify Shipper Address
Go to Settings → Locations and confirm the address for each fulfillment location is correct. Australia Post uses the origin address alongside the destination to calculate shipping rates.
Best Practices for Australia Post Shipping Profiles on Shopify
- Keep profiles lean and purposeful. Don’t create a separate profile for every single product. Group products by their shipping behavior — weight range, fragility, service level — and create profiles around those logical groups.
- Use weight-based rates for heavy product profiles. If you’re selling products above 5kg, flat rates almost never cover your actual cost. Weight-based rates or live Australia Post rates are far more accurate. If you’re scaling toward high parcel volumes, it’s worth understanding the difference between eParcel and MyPost Business on Shopify to ensure your account type is correctly configured for your volume.
- Assign Express Post to time-sensitive categories. Not every customer needs express delivery, but for categories like perishables, gifts, or medical supplies, offering Express Post as an option even at a premium can make the difference between a completed purchase and an abandoned cart.
- Account for multi-profile carts. When a customer orders products from two different Shopify shipping profiles, Shopify combines the rates from each and shows a single shipping total at checkout. This is automatic, but it’s worth testing by adding products from multiple profiles to a test cart.
Using PluginHive Australia Post Ship App with Multiple Shipping Profiles
Once your Shopify shipping profiles are configured, the PluginHive Australia Post Ship app connects them to Australia Post so live rates appear at checkout, and labels can be generated directly from your Shopify dashboard.
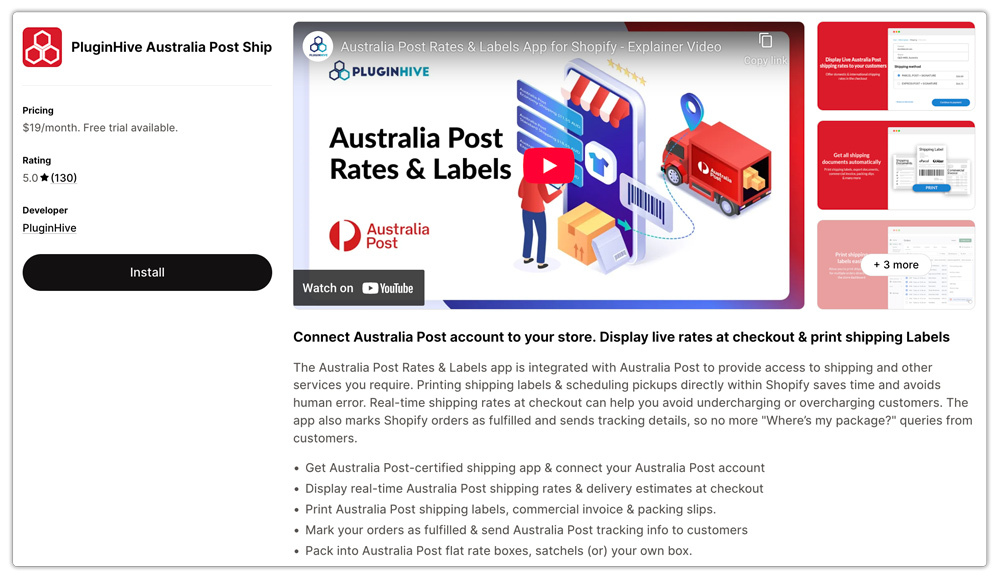
Here’s how it works across multiple profiles:
- You can connect your MyPost Business, eParcel, or StarTrack account, and then enable Australia Post services for each shipping profile independently.

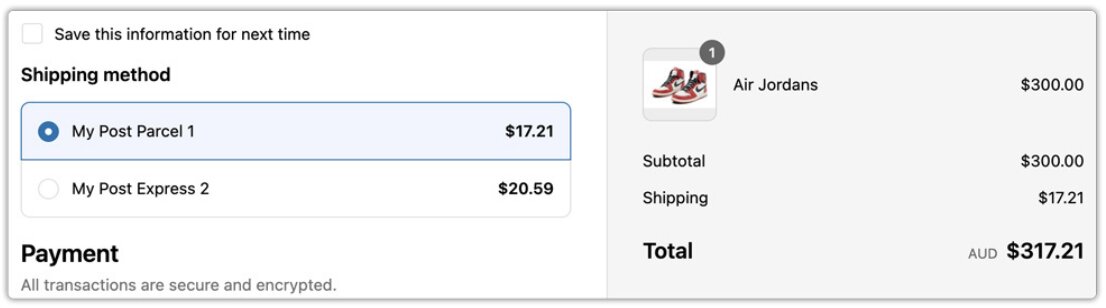
- When a customer checks out, the app pulls live rates from Australia Post in real time based on the product weight, dimensions, and destination.
- Beyond rates, the app handles label generation for all profiles from one place. Once an order is placed, you can generate individual or bulk Australia Post shipping labels directly from your Shopify dashboard without re-entering any customer or address details.

- Tracking is also automated: as soon as a label is created, Australia Post tracking updates sync back to the order and are shared with the customer automatically.

- To configure the app correctly within your Shopify store, refer to the complete Australia Post Shopify integration setup guide.
Conclusion
A well-structured Shopify shipping profile setup is what separates stores that absorb unnecessary shipping costs from those that price shipping accurately across every product type. By grouping products into logical categories, assigning each to the right profile, and configuring distinct zones and rate types, you eliminate the margin losses and customer friction that come from a one-size-fits-all approach.
Paired with the PluginHive Australia Post Ship app, each profile can display live Australia Post rates tailored to the exact products and services in that rule, giving your customers accurate pricing and giving you a fulfillment workflow that scales cleanly as your catalog grows.
FAQ’s
Q. What is a Shopify shipping profile?
A Shopify shipping profile lets you apply different shipping rules to specific groups of products. Each profile can have its own shipping zones, rates, fulfillment locations, and carrier services, making it easier to manage stores that sell multiple product categories.
Q. When should I create a custom Shopify shipping profile?
You should create a custom shipping profile whenever a group of products requires different shipping rules. Common examples include heavy or bulky products, fragile items, international-only products, or products shipped from a different warehouse.
Q. Which Australia Post services can I enable for different product categories?
You can enable services based on your shipping requirements. For example:
- Standard products: Parcel Post
- Urgent or fragile products: Express Post or StarTrack
- International orders: Australia Post International Standard or International Express
