


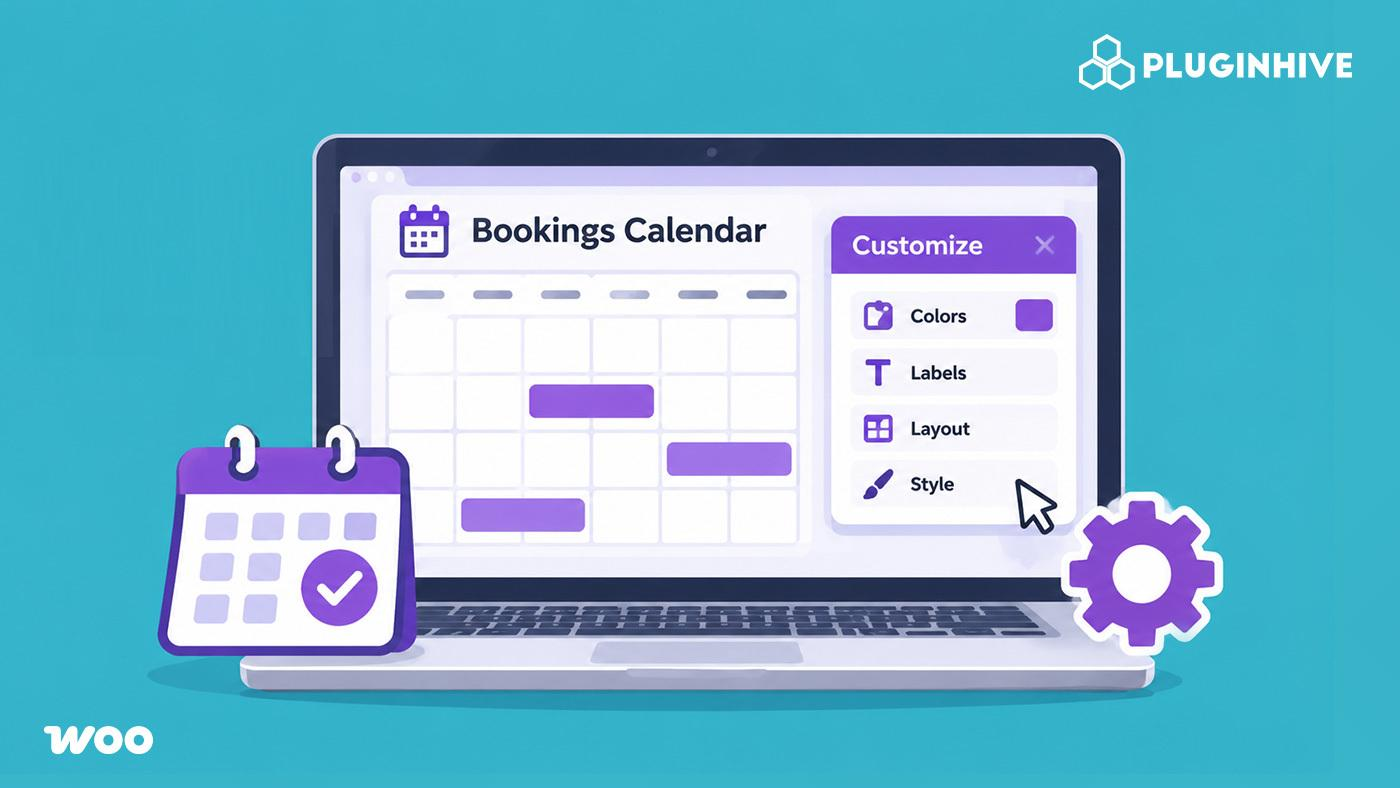
Your WooCommerce calendar is where customers decide whether booking with you feels easy or frustrating. If it clashes with your site’s look, shows slots you can’t offer, or leaves people unsure about dates and times, you get abandoned bookings and extra emails to sort things out. The Bookings and Appointments for WooCommerce plugin by PluginHive gives you plenty of control over how this calendar looks and behaves. In this article, you’ll learn how booking calendar customization works in WooCommerce, from the design and colours to the labels and availability rules that decide what customers can pick.
Table of Contents
- Understanding the WooCommerce Booking Calendar
- Why Booking Calendar Customization Matters
- How to Customize the WooCommerce Calendar
- Making Your WooCommerce Calendar Booking-Ready
- Best Practices for WooCommerce Booking Calendar Customization
- Final Thoughts
- FAQs
Understanding the WooCommerce Booking Calendar
A WooCommerce booking calendar is the date and time picker customers see on a bookable product. They choose a day, or a day and a time, and the calendar shows what’s open before they add the booking to their cart.
With the Bookings and Appointments for WooCommerce plugin, you create this calendar by changing a product’s type to Bookable Product. The calendar then adapts to the booking period you set. It can show single days, a start and end date, nightly stays with check-in and check-out, or hourly time slots for appointments.
Every booking goes through the normal WooCommerce cart and checkout. You also get a calendar view of all bookings in your admin area, so you can see what’s coming up at a glance.
Why Booking Calendar Customization Matters
The default calendar works, but a little customising helps it work harder for your store.
- A look that matches your brand. When the calendar uses your own colours and wording, it feels like part of your website. This builds trust at the moment customers are ready to pay.
- Fewer questions from customers. Clear labels and a visible booking summary show customers exactly what they’ve picked. They don’t need to email you to confirm.
- A format that suits your business. A hotel needs check-in and check-out dates, while a salon needs time slots. Choosing the right format for each service keeps booking simple.
- Easier booking for customers everywhere. If you serve people in different regions, showing times in their own time zone helps prevent missed appointments.
For example, a yoga studio might choose a compact calendar with time slots and a calm colour palette. A bike rental shop might prefer a bold calendar that makes available days easy to spot.
How to Customize the WooCommerce Calendar
All the visual options live in your WordPress dashboard under Bookings > Settings. Here’s how to work through them.
Step 1: Pick a Calendar Design
Go to Bookings > Settings > Calendar Design to customize your WooCommerce calendar. The plugin offers three calendar designs:
- Design 1: A compact calendar that’s always visible on the product page. This is the default.

- Design 2: A larger, high-contrast calendar with the booking details in a box below it.

- Design 3: The calendar stays hidden until the customer clicks the date field, which keeps product pages tidy.

Preview each one on a product page before you decide.
Step 2: Match the Colours to Your Brand
Depending on the design, you can change the colours of the month and weekday headers, selected and booked dates, the summary box and the Book Now button.

Click the colour box, choose a shade or enter a hex code, then click Save Changes. If you don’t like the result, Reset to Default brings back the original look.

Step 3: Edit Labels and Display Options
Next, open Bookings > Settings > Calendar Display. Here you can:
- Rewrite labels and messages so the wording suits your business.
- Choose the first day of the week: Monday or Sunday.
- Turn on the Month Picker, a dropdown that lets customers jump straight to a month.
- Enable Time Zone Conversion, so customers see time slots in their own time zone. Our guide on fixing WooCommerce booking time zone issues explains why this matters.
- Show or hide the end date and time in the booking summary, and separately in the cart, order details, and emails.

Step 4: Set the Date and Time Format
The calendar follows the format in Settings > General > Date and Time Format.

Prefer to show the calendar on a landing page instead of the product page? Here’s how to display a WooCommerce booking calendar on a custom page.
Making Your WooCommerce Calendar Booking-Ready
Once you’ve selected a calendar design and customised its colours, the next step is to configure the booking options. These settings determine which dates and time slots customers can select, making your WooCommerce calendar ready to accept bookings.
First, install and activate the Bookings and Appointments for WooCommerce plugin. Then, follow the plugin setup guide to configure the basic booking settings.
Next, create a bookable product and set its booking duration, availability, pricing, and any additional options required for your service. Once configured, the booking calendar will appear on the product page, allowing customers to select their preferred dates and times.
Let’s look at how different booking configurations appear to customers:
- Single-day booking: Customers see a calendar with available days and pick one day to book.
- Start and end dates: Customers choose a start date and an end date, and the booking summary shows the selected range.
- Per-night bookings: The summary shows check-in and check-out dates, and the cost is calculated for the nights stayed.
- Time-based appointments: Customers pick a date first, then choose a time slot from the ones you’ve made available.
- Blocked days and times: Dates and time slots you’ve made unavailable can’t be selected, so customers only see what you can offer.
- Staff members and resources: If you’ve added staff, customers can choose who to book with from a dropdown above the calendar. If you’ve set up resources, like an extra bed or a parking spot, they can pick what they need and the price is added to the total. You can also assign resources automatically.

Since the calendar reflects your configuration, it’s a good idea to open the product page after each change and check how it looks. If something doesn’t appear the way you expected, revisit the matching setting in the setup guide and adjust it.
Best Practices for WooCommerce Booking Calendar Customization
Once your calendar is set up, a few habits keep it clear and reliable.
- Test the full booking journey. Book a service yourself as a customer, from picking a date to the cart, then check the confirmation email.
- Make booked and available dates easy to tell apart. Choose colours with strong contrast so customers can scan the calendar in seconds.
- Check the mobile view. Many customers book from their phones, so preview your product page on a small screen after every design change.
- Ask for details upfront. If you need extra information, such as special requests, add custom fields to your booking form so you don’t have to follow up later.
Small checks like these keep your WooCommerce calendar clear for customers and easy for you to manage.
Final Thoughts
A well-customised WooCommerce calendar makes booking feel simple for customers and manageable for you. Start with the design and colours, then add the availability rules that keep the calendar accurate. If you need help setting up your WooCommerce booking calendar, contact the PluginHive support team.
FAQs
Q: Does WooCommerce have a booking system?
WooCommerce does not have a built-in booking system. You need a dedicated booking plugin to add features such as date selection, time slots, and appointment scheduling.
Q: How can I create a booking calendar?
You can create a booking calendar using the Bookings and Appointments for WooCommerce plugin by PluginHive. Install the plugin, create a bookable product, configure availability, and display the calendar on your product page.
Q: Does WordPress have a booking calendar?
WordPress does not include a built-in booking calendar. However, you can add booking functionality to your website using a suitable booking plugin.
