Engraved products have a charm that’s hard to ignore. They feel personal and thoughtful. For WooCommerce store owners, offering this kind of customization can turn everyday items into meaningful gifts. It’s not just about adding a name or message. It’s about creating products that people remember and value. This can lead to increased sales, stronger customer loyalty, and fewer returns. This article will walk you through everything you need to know about engraved product personalization and how to set it up in WooCommerce using the best tools and tips.
Table of Contents
- Custom Engraved Examples
- Choosing the Right Plugin for Personalization
- Adding Engraving Fields to Products in WooCommerce
- Best Practices for Managing Personalized Orders
- Real-World Example: WooCommerce Store Selling Engraved Gifts
- Conclusion
- FAQ’s
Custom Engraved Examples
Before we explore how to offer engraved product personalization in your WooCommerce store, let’s look at some popular types of custom engravings. The possibilities are endless, but here are some common and creative examples:
- Engraved Jewelry: Add names, initials, or dates to rings, necklaces, and bracelets, perfect for gifts and keepsakes.
- Pet Tags: Include pet names, contact numbers, or medical info that is essential and personal.
- Trophies & Awards: Engrave names, titles, and dates for sports, academic, or corporate recognition.
- Watches: Engrave the back with a message or date to make it truly memorable.
- Custom Pens: Add logos or names, ideal for business gifts or branding.
- Keychains: Personalize with names, coordinates, or short messages, great for events and giveaways.
- Leather Wallets: Engrave initials or messages on wallets, cardholders, or belts for a premium touch.
- Wooden Gifts: Boxes, frames, or utensils engraved with names or quotes for rustic appeal.
- Bottle Openers: Engrave for weddings, bachelor parties, or corporate swag.
Offering engraved options like these makes your WooCommerce store stand out with thoughtful, customized products that customers love to buy and gift.
Choosing the Right Plugin for Personalization
To offer engraved or personalized products like keychains, branded notebooks, or custom laptop sleeves, you need more than basic WooCommerce variations. While product variation in WooCommerce is beneficial for size and color options, it can quickly become overwhelming with too many combinations.
For real flexibility, the PH Product Add-ons for WooCommerce is the better fit.
Here’s why this plugin stands out for engraved product personalization:
- Add Multiple Options Easily: Use text fields, dropdowns, checkboxes, or file uploads for engraving, gift messages, or style choices.
- Clean and Simple Setup: No need to create a new variation for every customization. One product page handles it all.
- Flexible Pricing: Offer extra charges for engraving or gift wrap with flat or percentage-based pricing options.
- Supports a Variety of Products: Perfect for personalized gifts, custom pens, custom hoodies, or t-shirt printing.
- Better Shopping Experience: Customers can personalize products directly on the page, quickly and clearly.
Whether you sell a single custom patch or a whole line of personalized gifts, PH WooCommerce Product Add-ons makes it easy to manage without clutter.
Now that you’ve picked the right tool, let’s walk through how to set up engraving fields in your WooCommerce store.
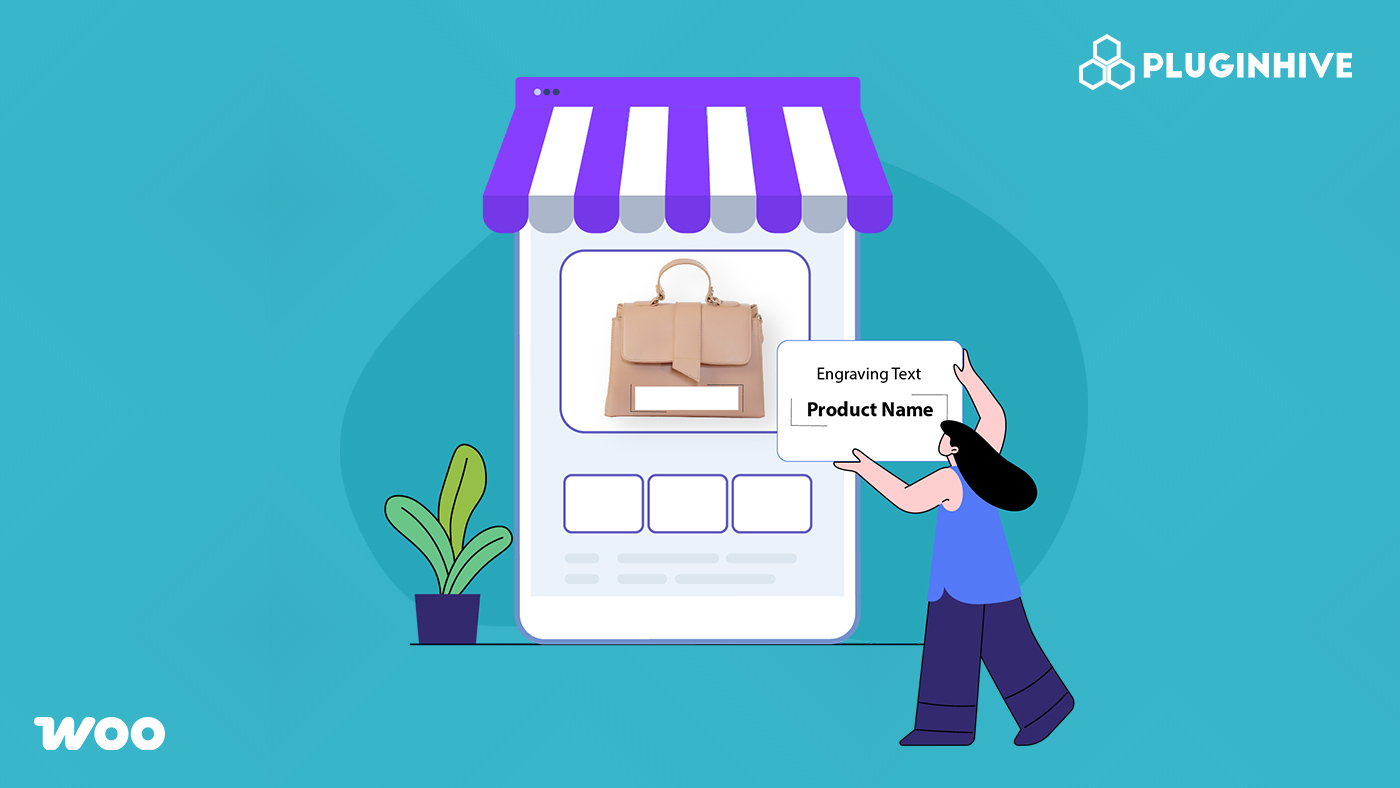
Adding Engraving Fields to Products in WooCommerce
Adding engraving options in your WooCommerce store is simple with the PH Product Add-ons. Just follow these easy steps to add custom text fields for engraving directly on your product pages:
1. Install and activate the Plugin
First, install and activate the PH Product Add-ons for WooCommerce plugin. No coding is needed, and setup takes just a few minutes.
2. Open the Product Add-ons Panel
In your WordPress dashboard, go to Product Add-ons. This is where you’ll create and manage your engraving fields.

3. Create a New Add-on Group
Click Add New, then name your group something like “Engraving Options” or “Personalized Text.”

4. Assign the Group to Products or Categories
Under “Choose Products” or “Choose Categories,” select the items you want to offer engraving for. You can assign a single product (e.g., a Personalized Heart Name Necklace) or a full category like (e,g, Name Necklace) or both


5. Add Engraving Field(s)
Click Add New Field and choose Text as the field type. This lets customers enter names or short messages.
- Label: Engraving Text
- Placeholder (optional): e.g., “Type your name or message”
- Character Limit: Set a limit (e.g., 20 characters) to control input
- Required Field: Tick if engraving is mandatory

6. Set Pricing (Optional)
You can charge extra for engraving. Use the Price Type setting:
- Set a flat fee (e.g., $5)
- Or use “Multiply with Character Length” for dynamic pricing

Example: Set Up Engraving Options Like a Name Necklace Customizer
To create a layout like a name necklace builder, just add two text fields – one for the top name and one for the bottom name. Then, add a color selection using radio buttons or image swatches with options like Gold, Rose Gold, and Silver. This setup gives customers a clear and easy way to personalize their product.

7. Save and Preview
Click Save this Add-on. Then, view your product page to test the engraving field in action.

Your customers can now enter engraving text, like names or messages, right on the product page. It’s fast, user-friendly, and gives them a smooth, personalized shopping experience.

Best Practices for Managing Personalized Orders
Handling engraved product personalizations like engraved keychains, custom hoodies, or custom notebooks requires clear communication and streamlined workflows. Even small mistakes can impact customer satisfaction, so precision matters.
Follow these best practices:
- Display Custom Inputs Clearly: Ensure engraving text or uploads appear accurately in order summaries for smooth fulfillment.
- Use Conditional Logic: Show only relevant fields (e.g., reveal engraving text box only if selected) to reduce confusion.
- Group-Related Fields: Organize options such as text, color, and packaging for a better user experience.
- Limit Input Length: Set character limits to prevent formatting issues on smaller items.
- Add a Review Step: Let admins or customers verify personalization before processing.
By applying these tips with the PH WooCommerce Product Add-ons plugin, you’ll reduce errors, speed up fulfillment, and deliver a professional, personalized shopping experience.
Real-World Example: WooCommerce Store Selling Engraved Gifts
A WooCommerce store in Toronto sells engraved gifts, like custom bar necklaces, keychains, and pens. As orders increased, managing custom fields became difficult.
Problems Faced:
- Using default product variations led to clutter and confusion.
- No option to charge based on engraving length or extras.
- Customers entered details in the notes section, resulting in errors.
- Fulfillment errors increased during peak times.
- Order processing was slow and manual.
The Solution:
They installed the PH Product Add-ons for WooCommerce plugin.
- Added custom fields like text, dropdowns, and image uploads.
- Used conditional logic to show only needed fields.
- Applied pricing based on character count.
- Engraving details appeared clearly in order summaries.
- Fulfillment became faster and more accurate.
Results:
The store cut order errors by 70% and sped up delivery. Customers loved the smooth personalization flow. Sales and repeat orders improved, especially for personalised gifts and custom products.
Conclusion
Offering engraved product personalization in WooCommerce is a powerful way to turn simple items into meaningful, sellable moments. With the right setup, like the PH Product Add-ons for WooCommerce, you can easily manage customization fields and deliver a smooth experience across a variety of personalized products.
Whether you’re selling gifts, apparel, or accessories, this approach helps boost conversions, reduce errors, and build stronger customer loyalty.
Need help setting up engraved products in your store? Reach out to the PluginHive support team for expert guidance.
FAQs
Q1: Can customers edit their engraving details after placing an order?
No, not typically. Once the order is confirmed, edits usually aren’t allowed.
Q2: How does pricing work for personalized engravings?
The plugin allows flexible pricing models, including per-character charges, fixed fees, or percentage-based pricing.
Q3: Is it possible to show or hide engraving fields based on customer choices?
Absolutely. The plugin supports conditional logic, enabling dynamic display of fields based on prior selections.
Q4: Will the engraving details appear in the customer’s order summary?
Yes, all personalization inputs are included in the order details, ensuring clarity for both the customer and the fulfillment team.
Q5: Is it possible to use images or icons for engraving options?
Absolutely. PH Product Add-ons supports image swatches and file uploads, allowing customers to select designs or upload logos for engraving on custom items.
Q6. What happens if a customer forgets to enter engraving text?
You can mark engraving fields as required, ensuring customers can’t proceed to checkout without completing the necessary inputs.