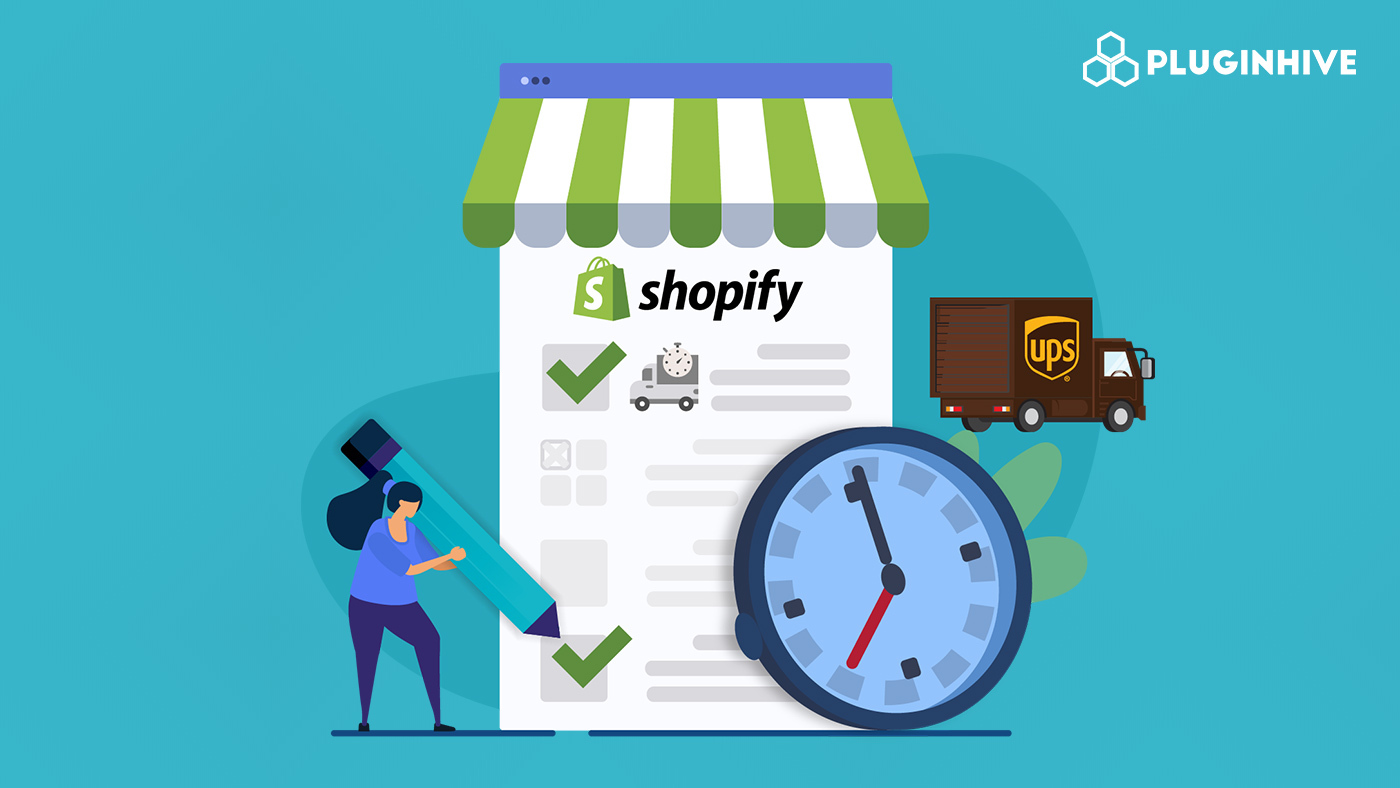
For Shopify merchants, scheduling UPS pickup is a smart way to save time and avoid daily UPS drop offs. Instead of making manual drop offs, you can schedule UPS pickup right from your store, making order fulfillment smoother and more efficient.
This guide is for Shopify store owners handling domestic UPS shipping who want to streamline their workflow by using scheduled pickups through Shopify Shipping or apps like PluginHive MCSL.
In This Article:
- Prerequisites
- Methods to schedule UPS pickups on shopify
- Troubleshooting common order pickup issues on shopify
- Tips for efficient UPS pickup management
- Conclusion
- FAQ’s
Prerequisites
To schedule UPS pickups or manage UPS drop offs options on your Shopify store, ensure the following setup is in place:
- Active Shopify Store: Your store must be live and capable of processing orders.
- UPS Shipping Enabled: You can either use Shopify’s integrated UPS account via Shopify Shipping or connect your own UPS account for better control over UPS shipping rates and services.
- PluginHive MCSL App: For merchants looking for more advanced features like scheduled UPS pickup automation, custom rate display, and better label management, the PluginHive MCSL app can be added.
Having these in place ensures you’re ready to manage pickups, avoid unnecessary drop-offs, and optimize your UPS shipping process.
Methods to Schedule UPS Pickups on Shopify
Using Shopify Shipping with UPS:
If you’re using Shopify Shipping with the built-in UPS integration, scheduling a UPS pickup is quick and doesn’t require any tools. This method is ideal for small businesses looking for a simple way to automate shipping and reduce the need for daily UPS drop offs.
How to Schedule a Pickup:
- Go to the Orders Page in your Shopify admin.
- Select the orders you want to ship using UPS shipping.
- Generate the shipping label with UPS as the selected carrier.
- After label creation, you’ll see an option to schedule UPS Pickup directly in Shopify.
- Choose your preferred pickup window, confirm the address, and submit the request.
Once scheduled, UPS will arrive at your designated location to collect your packages, helping you avoid unnecessary drop-offs and streamline fulfillment.This method is perfect for merchants handling domestic UPS shipments who want a native, no-hassle solution to manage pickups and reduce time spent manually on the UPS website.
Using PluginHive MCSL:
Setting Up the Pickup
- For merchants who use their own UPS account or require more flexibility, the PluginHive MCSL app offers advanced pickup scheduling and shipping automation directly within Shopify
- After setting up the app, navigate to the app’s landing page, locating the ☰ icon (hamburger menu) at the top left corner. then go to Settings>Carriers>”+” search for UPS and add account.

- As soon as the carrier is added, you’ll see the Pickup Type and Pickup Time options under the Other Details section in the carrier settings. Here, you can choose your preferred pickup method and set the exact time for UPS pickups, helping streamline your UPS pickup process on Shopify.

Requesting Pickup using PluginHive MCSL:
- To facilitate the pickup through the app, click on the label-generated order, then select “Request Pickup” to schedule your UPS pickup directly from the app.

- As soon as you request a pickup, it will appear under the Pickup tab in the app, along with a pickup number generated for tracking and reference.

- In this way, you can request, schedule, and control your UPS pickups directly through PluginHive MCSL, making your Shopify shipping process more streamlined and efficient.
Troubleshooting Common Order Pickup Issues on Shopify
Here are some common issues Shopify merchants might face while trying to schedule UPS pickups or manage UPS shipping through Shopify and PluginHive MCSL, along with tips to resolve them:
1. Pickup Not Scheduled or Missed
- Double-check that the label was generated correctly and a pickup request was made.
- Ensure pickup requests were submitted before the carrier’s cutoff time.
2. Pickup Charges Not Displaying Correctly
- In PluginHive MCSL, review the carrier settings to confirm your account details are correctly added.
- Contact UPS support if charges seem inconsistent with your agreement.
3. Shopify Shipping Not Showing UPS Options
- Shopify only supports UPS natively for U.S. and Canadian merchants.
- For international shipping or custom rates, integrate your own UPS account using PluginHive MCSL.
4. App or Integration Misconfigurations
- Ensure the PluginHive MCSL app is correctly installed and your UPS credentials are verified.
- Check that shipping zones, service types, and carrier settings are configured properly within the app.
Tips for Efficient UPS Pickup Management
Efficient UPS pickup management is key to smooth shipping operations and timely deliveries. Here are simple tips to streamline your UPS pickups:
1. Prepare Packages Before Pickup:
- Complete packing and sealing: Ensure all parcels are fully packed, sealed, and ready to go before the UPS driver arrives. This prevents delays and missed pickups.
- Sort by size or destination: Organize packages by size or destination to speed up the driver’s scanning and loading process.
2. Set Clear Cutoff Times and Pickup Windows
- Define internal cutoff times: Set a daily internal deadline for when all packages must be ready for pickup to avoid last-minute rushes. Communicate this clearly to your packing team.
- Schedule pickup windows strategically: Choose UPS pickup windows that align with your business’s workflow and volume. For example, scheduling pickups mid-morning or early afternoon can help balance packing and shipping demands.
3. Optimize Label Placement and Scanning Readiness
- Place labels on the largest flat surface: Always put shipping labels on the largest, flattest side of the package to facilitate quick scanning. Avoid edges or corners where labels might fold.
- Verify barcode clarity: Double-check that all barcodes are printed and free of smudges or wrinkles for smooth scanning by UPS drivers.
Conclusion
Efficiently scheduling UPS pickups on Shopify starts with setting clear cutoff times, preparing packages in advance, and ensuring labels are properly placed for quick scanning. For small stores with low shipping volume, manual scheduling may work well, while larger stores will benefit from customizing for UPS pickups using PluginHive MCSL. To save time and reduce errors, consider using the PluginHive MCSL app that streamlines scheduling, tracking, and label management, helping your business scale smoothly.
FAQ’s
- How to schedule a UPS pickup in Shopify?
To schedule a UPS pickup, use PluginHive MCSL, generate a UPS label from the app, and click “Request Pickup.” The pickup will be generated and manifested in the Pickup Tab. - How to set up UPS shipping on Shopify?
To set up UPS shipping on Shopify, go to Settings > Shipping and Delivery, then enable UPS under the Carrier Calculated Rates using Shopify Shipping or connect your own UPS account using the PluginHive MCSL app for advanced control. - How do I know if my UPS pickup request has been successfully scheduled?
In Shopify, you’ll see a confirmation after submitting your pickup request. In PluginHive MCSL, the pickup will appear under the “Pickup” tab with a unique pickup number for tracking.
- What should I do if the UPS driver misses a scheduled pickup?
Verify that the pickup request was submitted correctly and before the cutoff time. If everything was set up properly, contact UPS support.