The PluginHive Shipping app offers an automated packaging solution, efficiently calculating product weights, considering product dimensions, and finding the optimal boxes based on either the maximum weight they can hold or their volume. This automation significantly aids merchants in streamlining their packaging calculations.
Nevertheless, due to the intricate nature of box packing, there may be cases where adjustments are necessary just before generating the label. In such situations, we highly recommend using the FedEx Single Label generation process.
This process allows you to carefully review the packages and other parameters, making any necessary adjustments before finalizing and generating the label.
On This Page
Step-By-Step Guide for Single-Label Generation
To assist you with the fedex process, here is a step-by-step guide below:
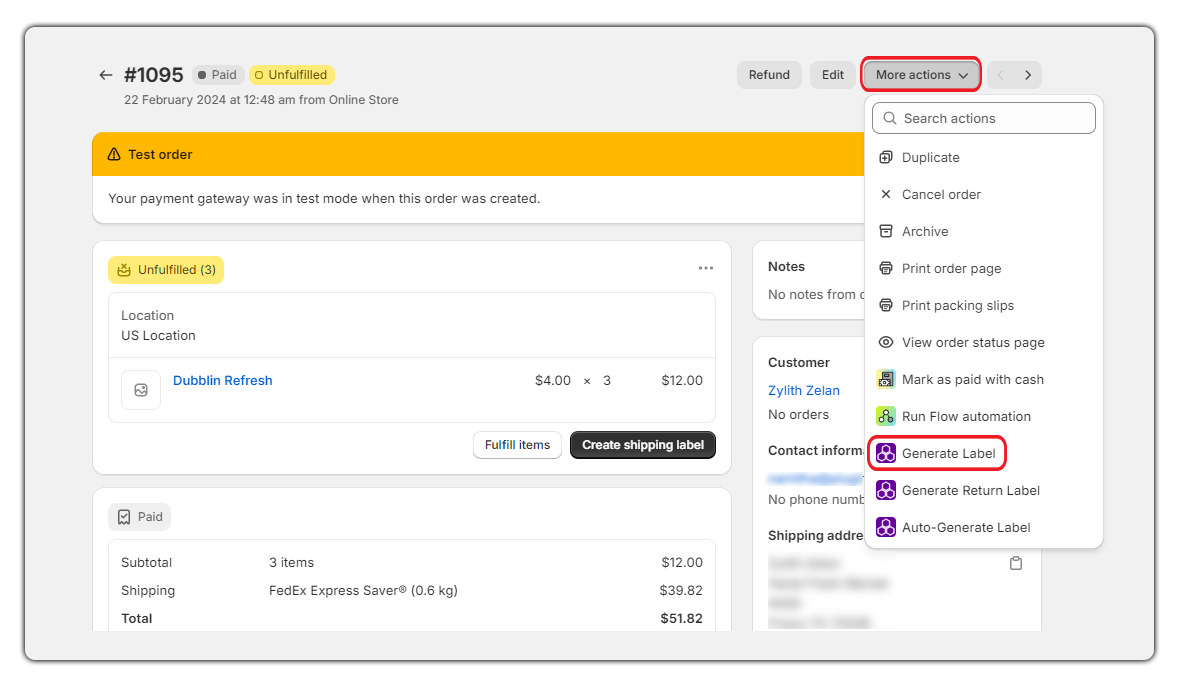
- Go to the Shopify Order details page.
- Select the order for which you want to generate a FedEx shipping label.
- Under More actions, click on Generate Label to manually generate FedEx shipping labels for the selected order as shown below:
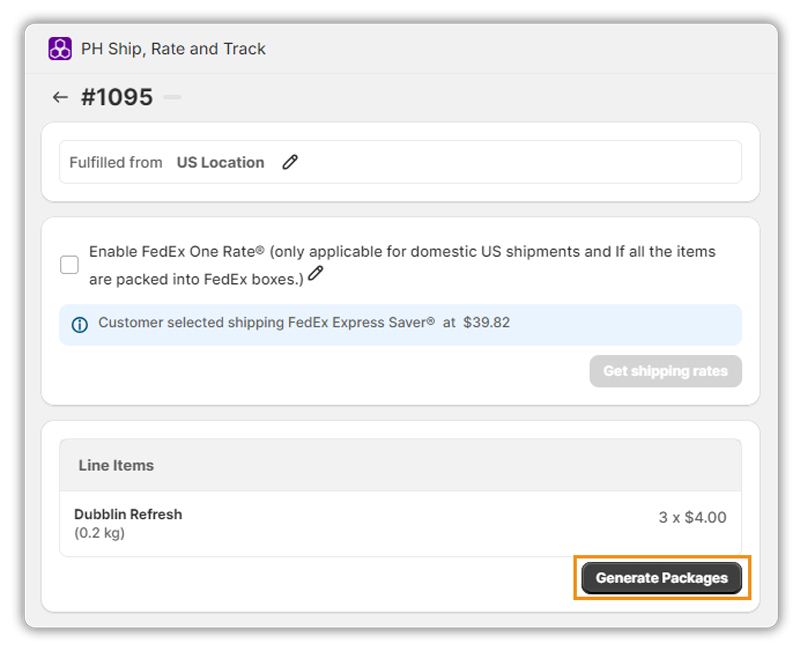
With this process, you can achieve the following for packages:
Click on Generate Package to generate the packages as shown below:
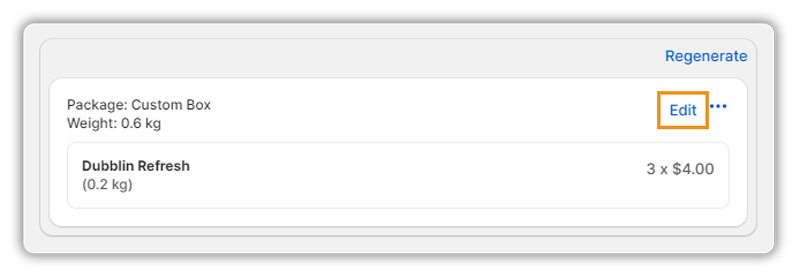
After generating package, you can edit, split, remove, or regenerate the packages according to your requirements.
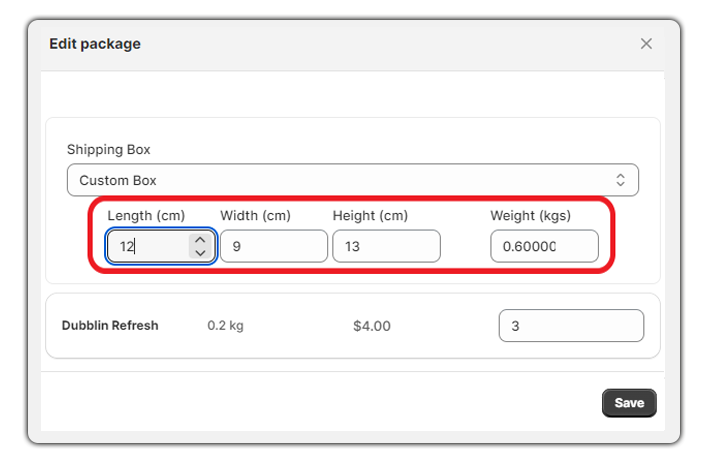
Package Weight / Dimensions Adjustment
You can make adjustments to the package dimensions and weight. Here, you have the option to review or modify the package dimensions and weight at this point. Click on the Edit option as shown below to adjust the weight and dimensions of the package.
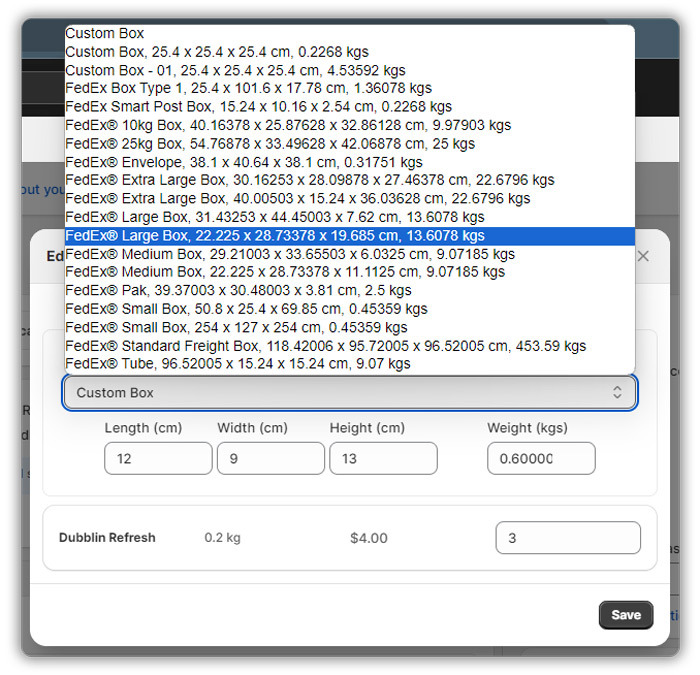
Selection / Changing of the Package Box
There is a provision to choose from the available FedEx boxes or use your packaging for the shipment. Under Packages, if the Box Packing method is enabled, you can select the FedEx Boxes or your boxes based on your requirements.
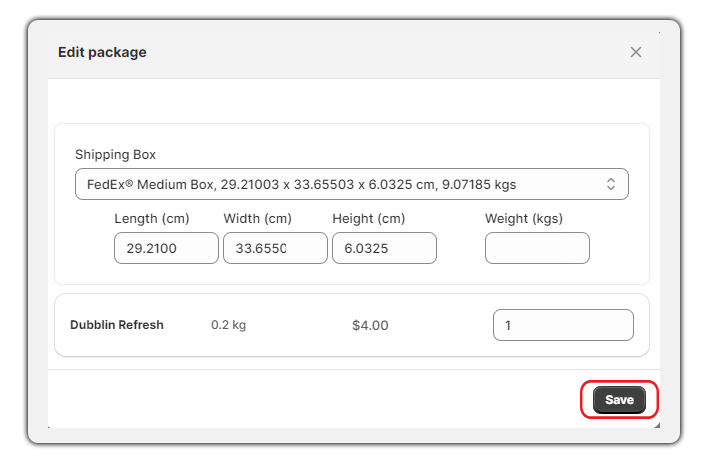
To do so, click the Edit Packages option and select Shipping Box from the drop-down list. Save the settings after selecting your preferred box.
Include Additional Boxes
When packing items into boxes, you have the flexibility to split them among multiple boxes. You can take some items out of one box and put them into another. This allows you to ensure each box has the correct quantity of items.
You can keep rearranging the items into different packages until everything is packed correctly. It’s a convenient way to handle tricky packaging and adapt to changing requirements efficiently.
To take things out, click on Edit and adjust the quantity according to your requirements as shown below:
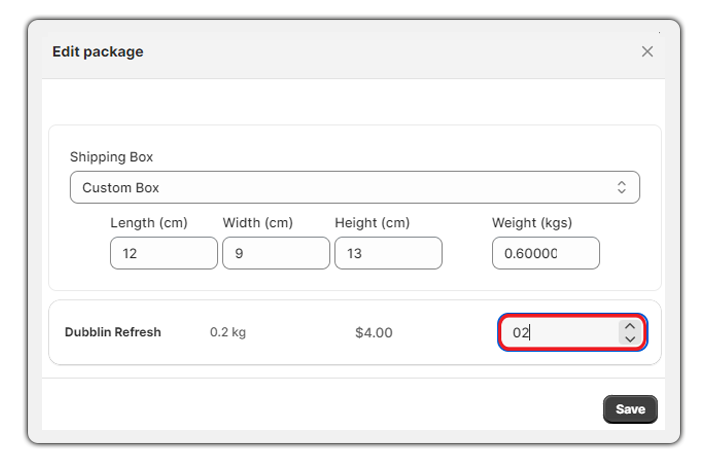
You can increase or decrease the quantity of products based on how many items you want to take out of the box and create a new box for shipping.
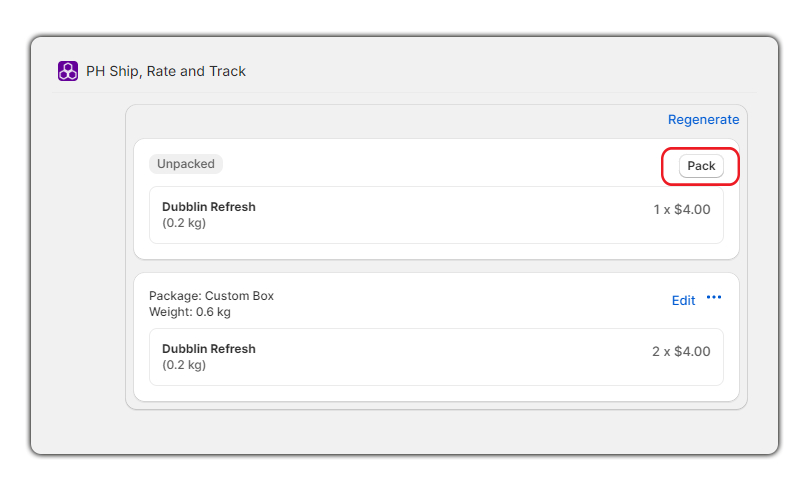
When you reduce an item from the app-generated package, it will be Unpacked as shown in the below image.
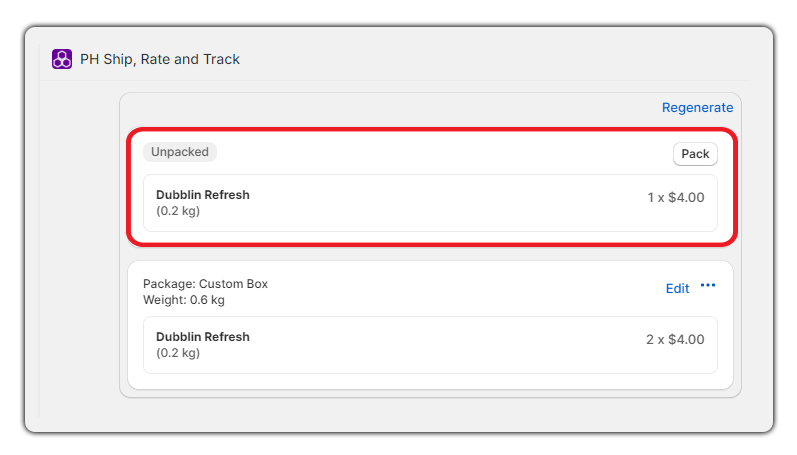
To pack the unpacked items, click on the Pack button as shown below:
Select the Shipping Box and click on Save as shown below:
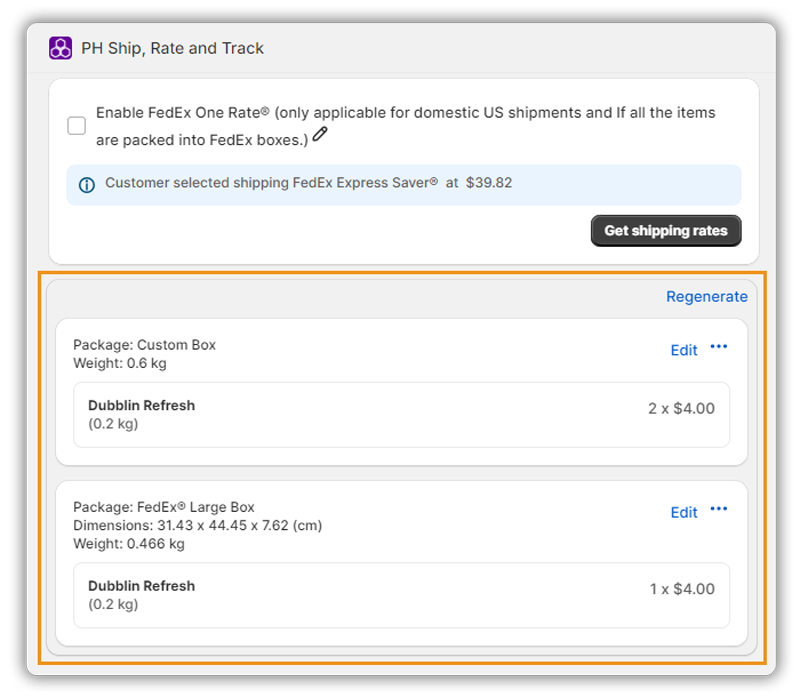
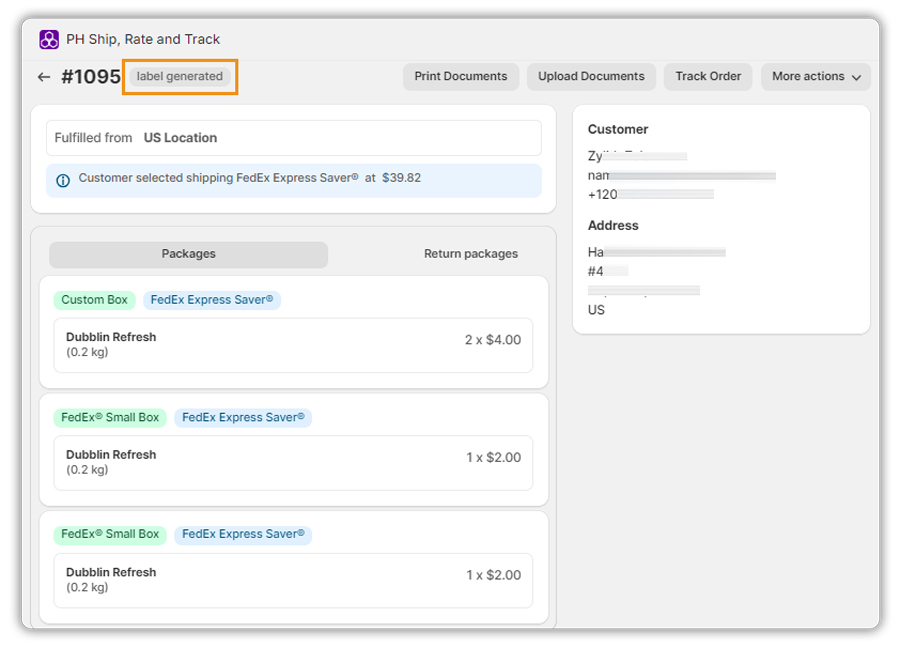
Once done, multiple packages get created as shown in the below image and you can generate multiple labels for the order.
When you pack a product that can be disassembled/dismantled, like mechanical or electronic appliances, you can split a single box into multiple boxes by using the Split option.
Please note that a box can be split when it has one item packed and can be split only once with the Split option. The below screenshots depict the splitting of a box into multiple boxes.
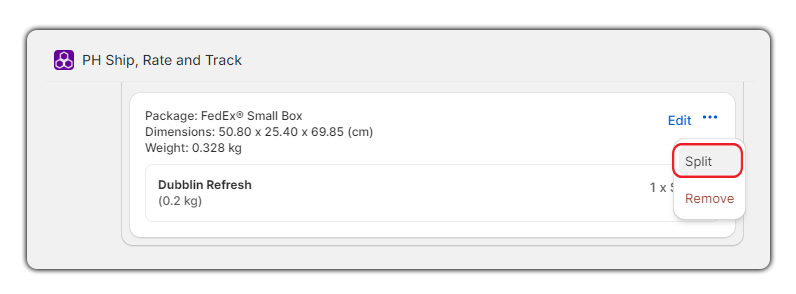
Click on three dots and click the Split option as shown below:
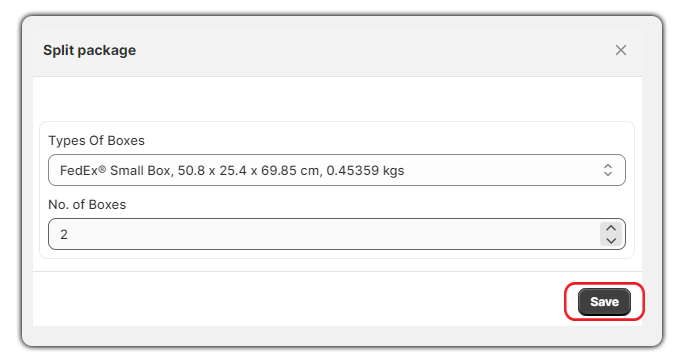
Select the Types Of Boxes and the No. of Boxes to split as shown in the below image and click on Save.
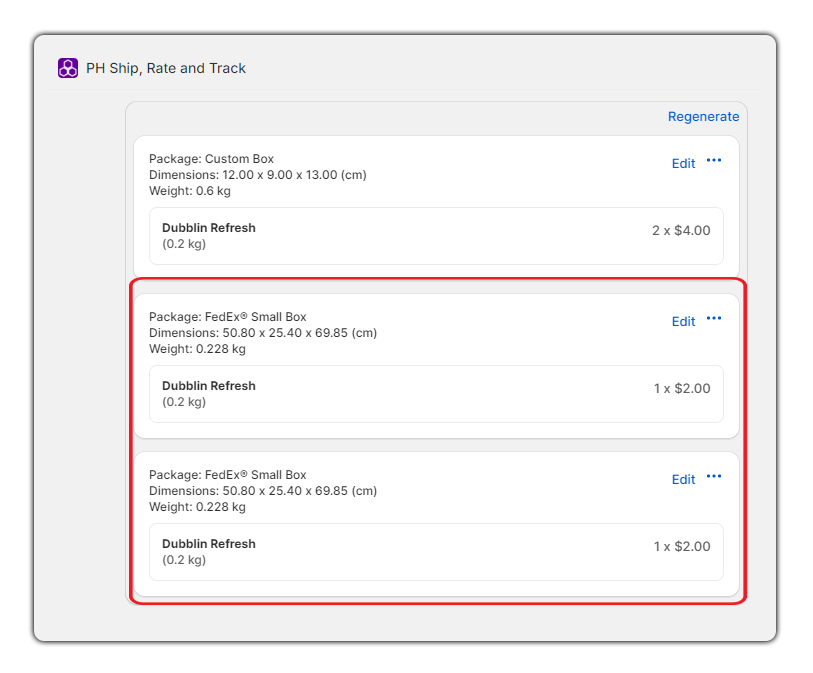
In the below image, you can find that the package is split into two.
Adding Insurance to an Order
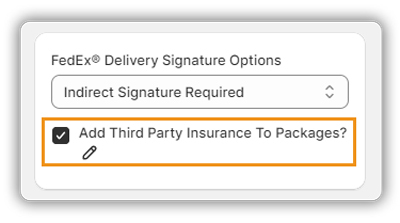
You can also add Insurance to the order by enabling the “Add Third Party Insurance To Packages” option as shown below:
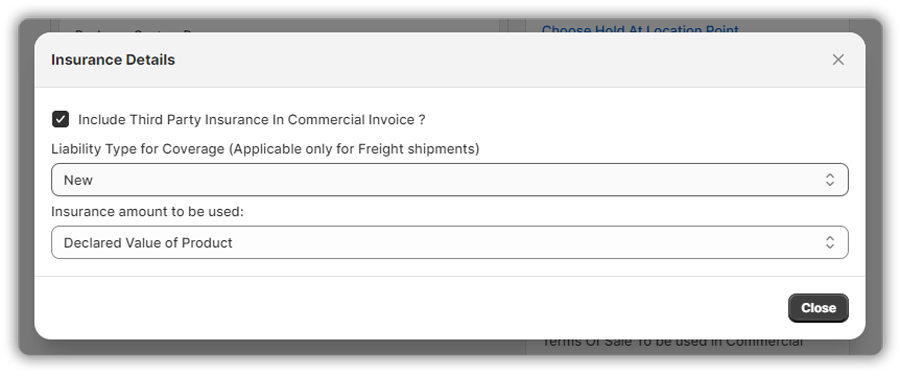
Click the pencil icon to edit the Insurance Details and click on Close as shown below:
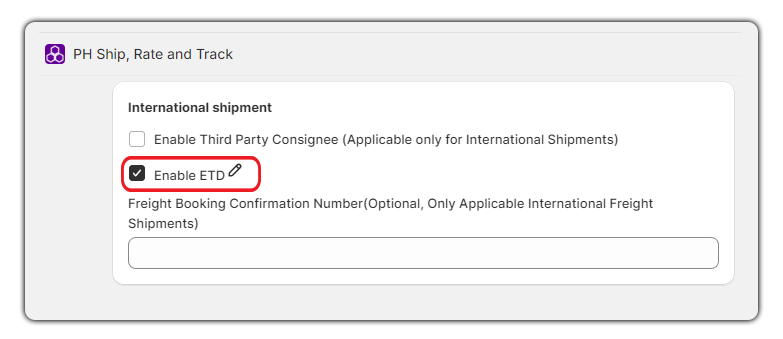
Enabling of ETD Option for an Order
If you wish to send the documents of a specific order electronically to FedEx for your International Shipment, kindly enable Electronic Trade Documents by selecting the ‘Enable ETD‘ option as shown below:
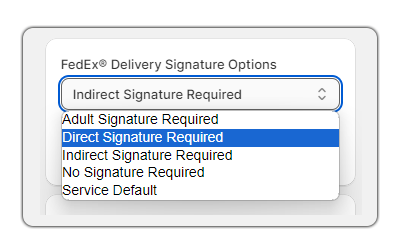
Adding Signature to an Order
If your business requires you to offer the Delivery Signature option to your customers, then select the required FedEx Delivery Signature Options for your shipments in the dropdown as shown in the below image.
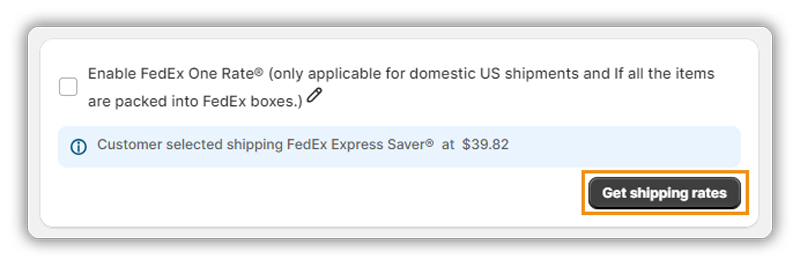
Review the Service and Shipping Costs
After following the above steps and making the necessary changes to the order, click on Get Shipping Rates to obtain the updated rates as shown below:
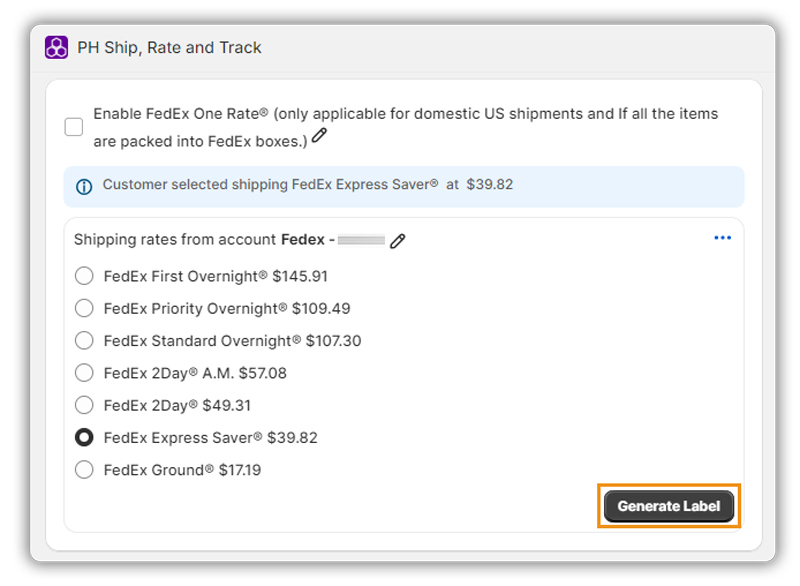
Select the shipping service and click on Generate Label to proceed with generating the labels as shown below:
Multiple labels will be generated as shown below:
In Conclusion
By following the step-by-step guide provided, you can take advantage of various benefits. You have the flexibility to adjust package dimensions and weights, select appropriate box types, split items among multiple boxes, and even add insurance, electronic trade documents, or signature options as needed. This process empowers you to handle complex packaging scenarios effectively and adapt to changing requirements.
Remember to review the service and shipping costs after making adjustments, to ensure accurate rates. By employing the FedEx Single Label Generation process, you can enhance your shipping workflow, minimize errors, and ultimately deliver an exceptional customer experience.
If you face any issues or have any queries on the FedEx Single Label Generation process, feel free to contact our customer support.