If you’re running a WooCommerce store and want to ship orders using USPS, you’ll need to create a USPS business account and set up your key credentials, such as your CRID, MIDs, and EPS Payment Account. These details are required to calculate real-time USPS rates and generate shipping labels directly from WooCommerce.
In this guide, you’ll learn how to create a USPS account and connect it with WooCommerce using:
Create a USPS Account
Follow the steps below to create a USPS account and obtain the required account details for WooCommerce integration.
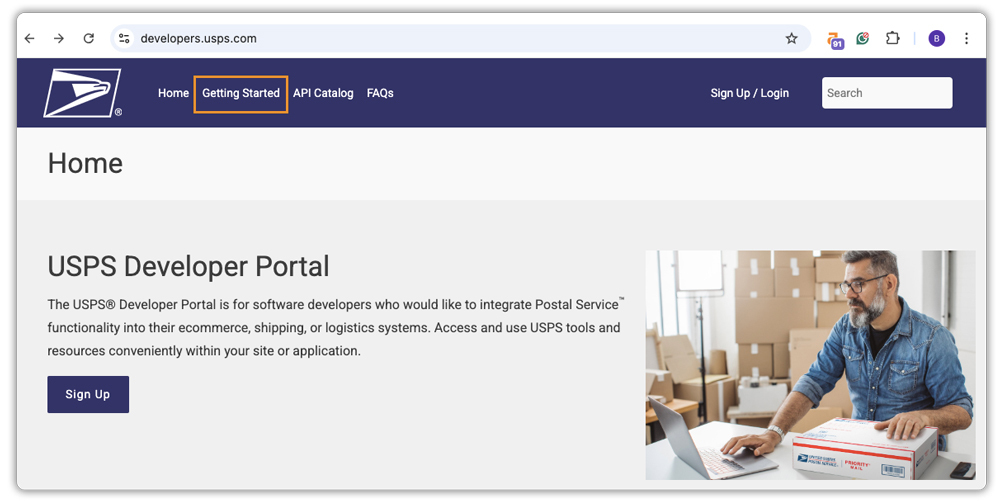
1. Go to the USPS Developer Portal and click on the Getting Started tab.
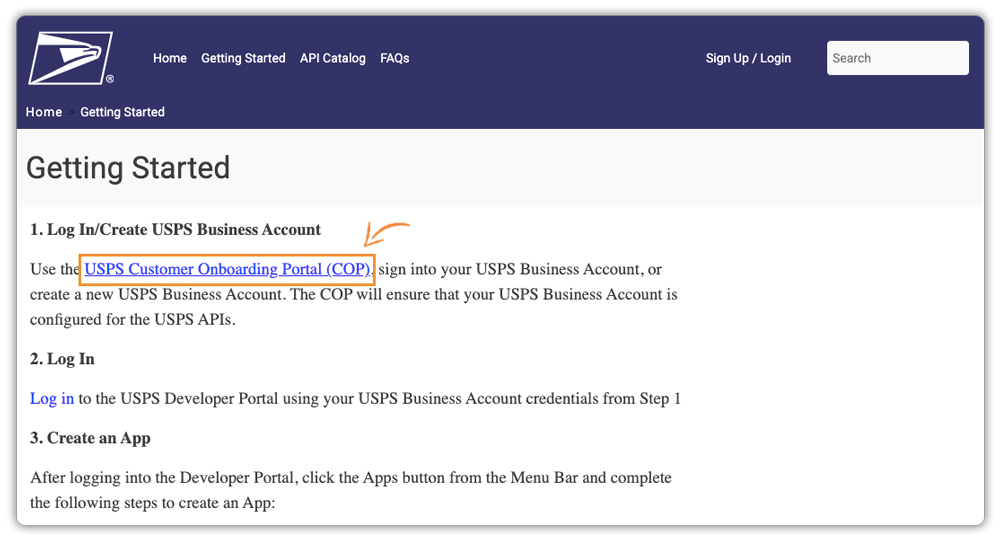
2. Go to the USPS Customer Onboarding Portal (COP) as shown in the image.
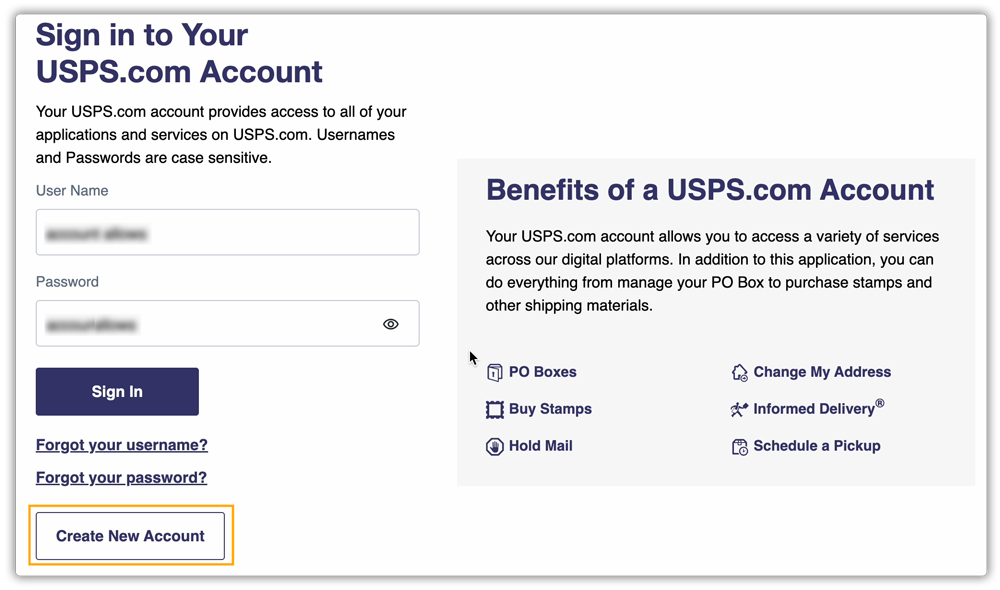
3. Click Create New Account to start the registration process. (If you already have an account, simply sign in to retrieve your credentials.)
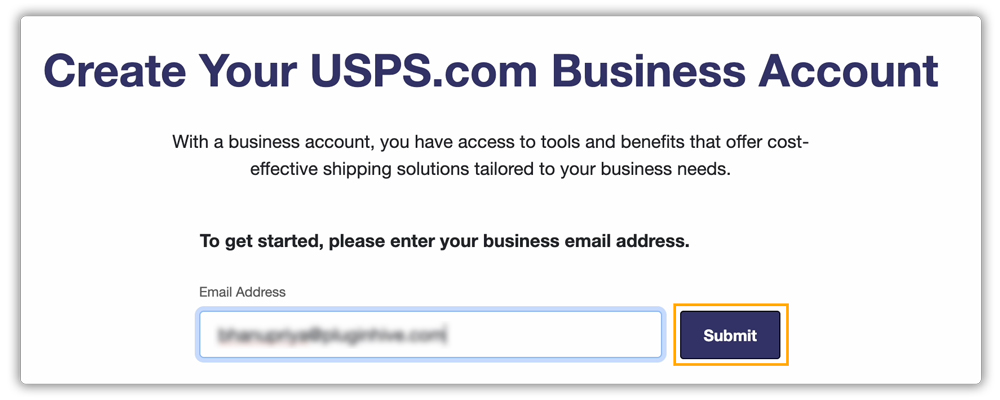
4. Enter your email address and submit.
5. In the registration steps:
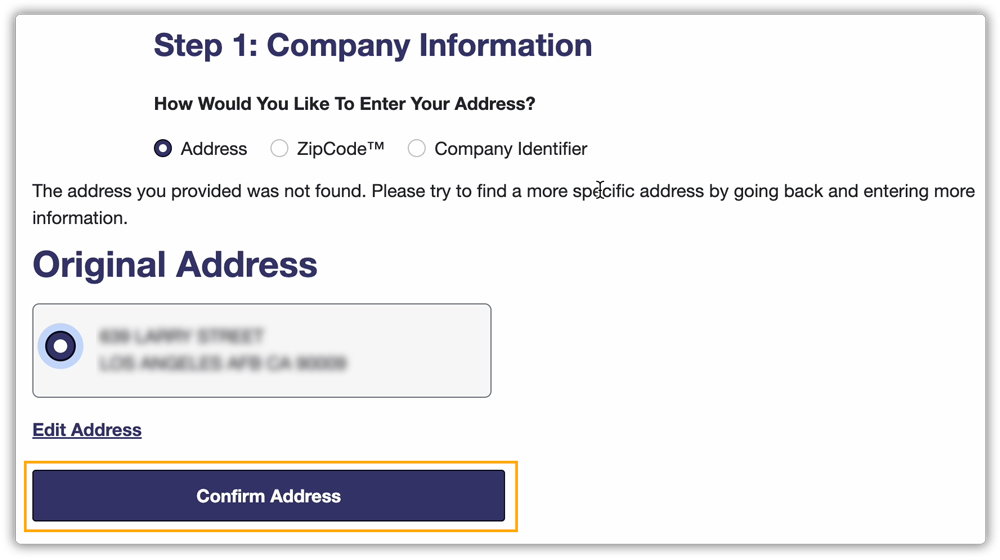
- Enter your company information, including address / ZIP code/company identifier. Then, click Search Address.

- When your address appears, click Confirm Address.
- Add your contact details to verify your account.

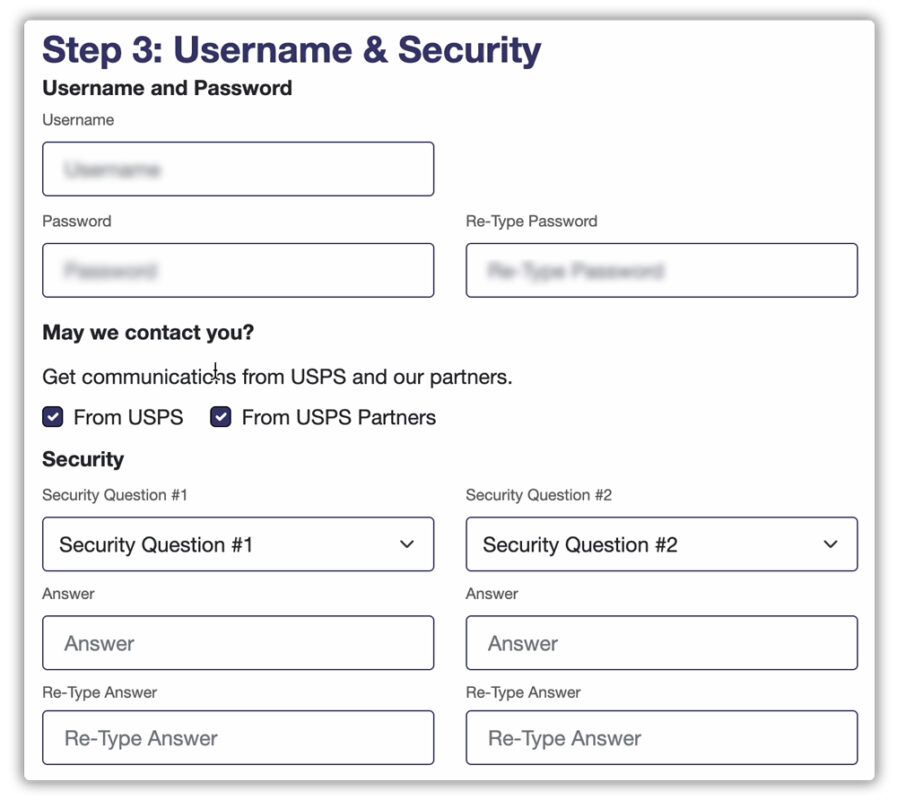
- Set your username, password, and security question answers, then create the account.
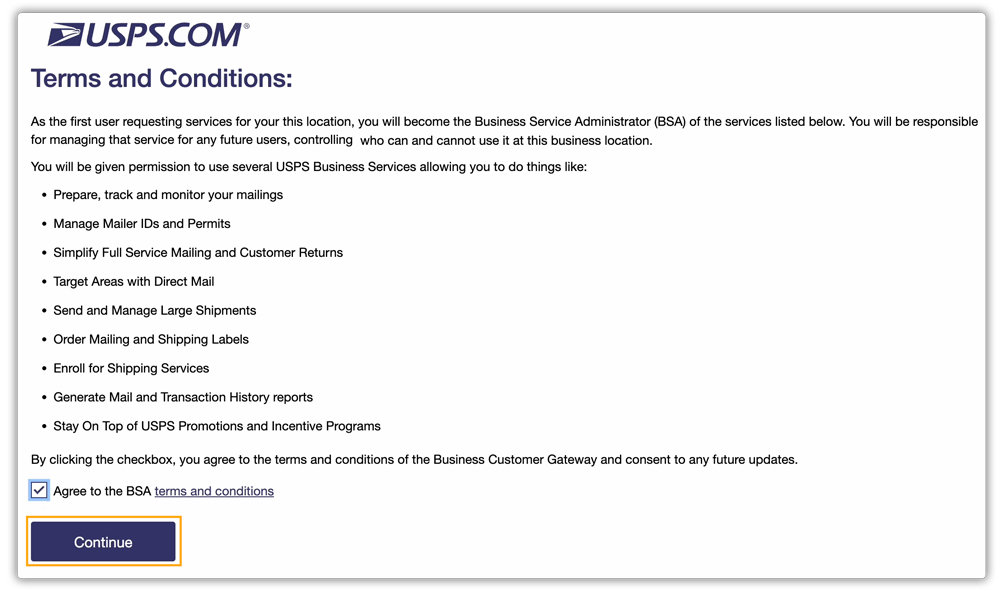
6. Read through and accept the Terms and Conditions by checking the box, then click Continue.
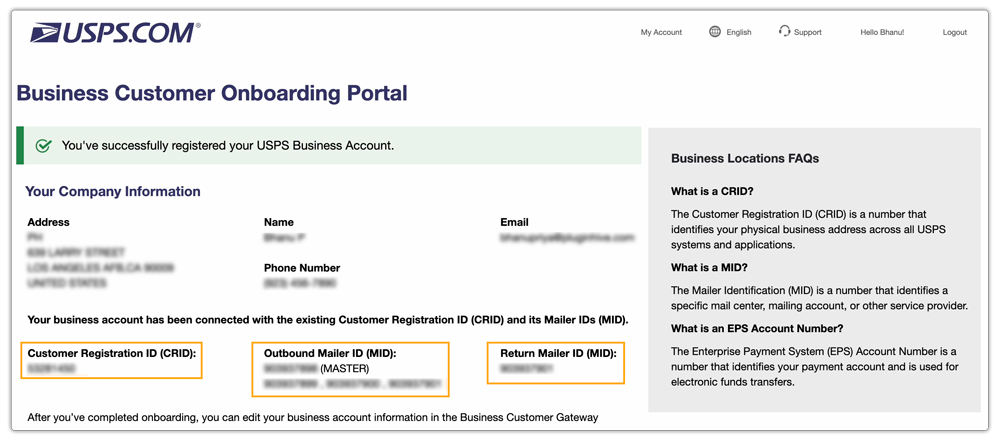
Once your account is created, you’ll be redirected to a page displaying your:
- Customer Registration ID (CRID): A USPS-generated identifier for your business location. It links your WooCommerce shipping activity to your USPS profile.
- Mailer Identifier (MID): A 6- or 9-digit numeric code assigned by USPS to identify your business for outbound mail tracking.
- Return MID: A dedicated MID used to manage and track return shipments in USPS systems.
Now you need to add payment details for your USPS account. Even if you already have an existing USPS account, it’s essential to add your payment information. Without this, you won’t be able to connect your USPS account.
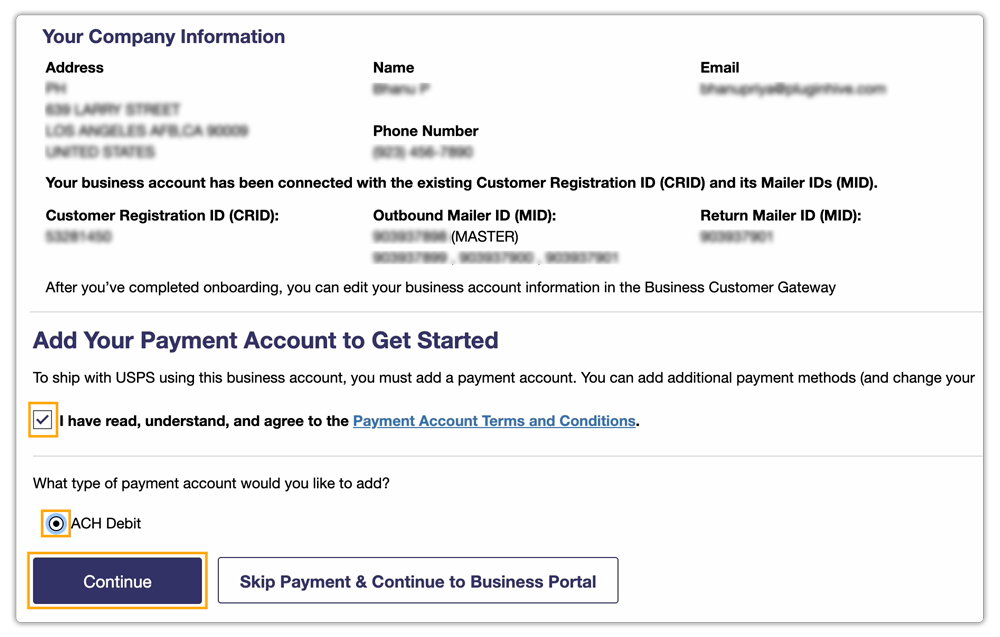
Add Payment Details for Your USPS Account
On the same page, you’ll see an option to add a payment method. Agree to the terms and conditions, select your payment account type, and click Continue.
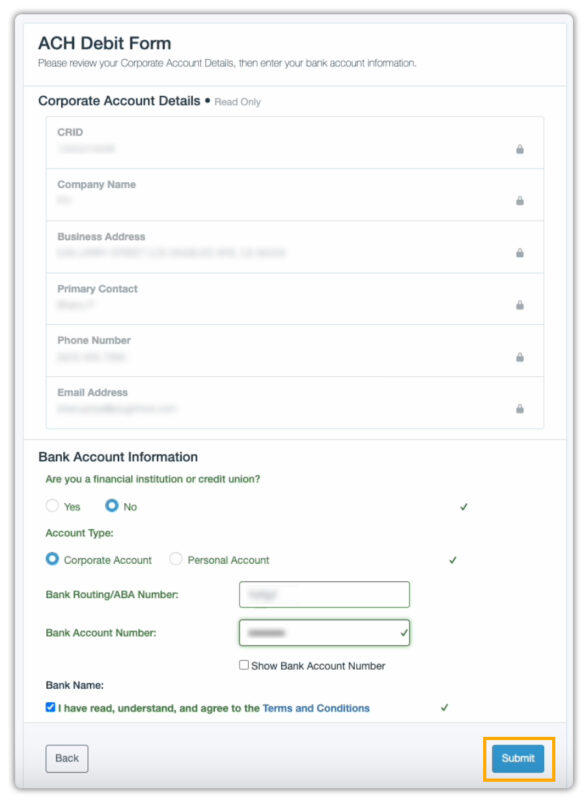
Enter your bank account details and submit.
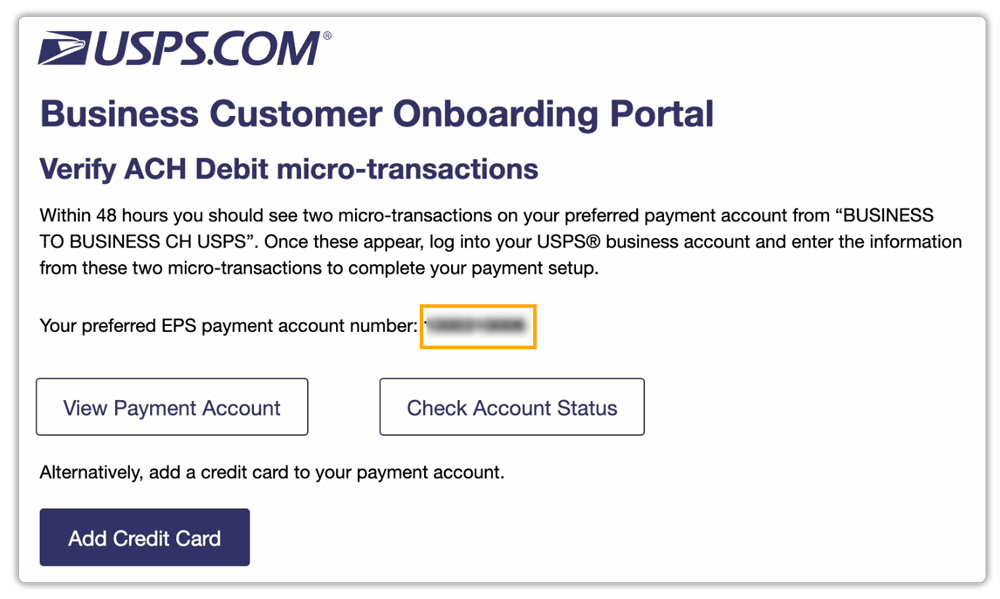
You will then see your EPS Payment Account Number.
Now that you have all your credentials, you can connect your USPS account using either of the following options, depending on your shipping requirements:
Option 1: WooCommerce USPS Shipping Plugin with Print Label
Use this plugin if your store ships exclusively with USPS. Install and activate the WooCommerce USPS Shipping Plugin with Print Label and connect your USPS account. For detailed configuration steps, refer to: Register your USPS Account with USPS Plugin
Option 2: PH Multi-Carrier Shipping Plugin for WooCommerce
Choose this option if your store uses USPS along with other carriers such as FedEx, UPS, or DHL. For detailed steps, refer to: USPS Account Registration with Multi-Carrier Plugin.
If you need any help setting up a reliable USPS shipping workflow in your WooCommerce store, reach out to PluginHive Support.